How to assign tickets to participants
Updated Thu Jun 04 2026 00:00:00 GMT+0000 (Coordinated Universal Time)
A purchased ticket starts out not linked to anyone — it shows as Not assigned. Assigning a ticket links it to the specific person who will use it (so they can be checked in and sign a waiver). Assigning doesn't buy anything.
Assign a ticket
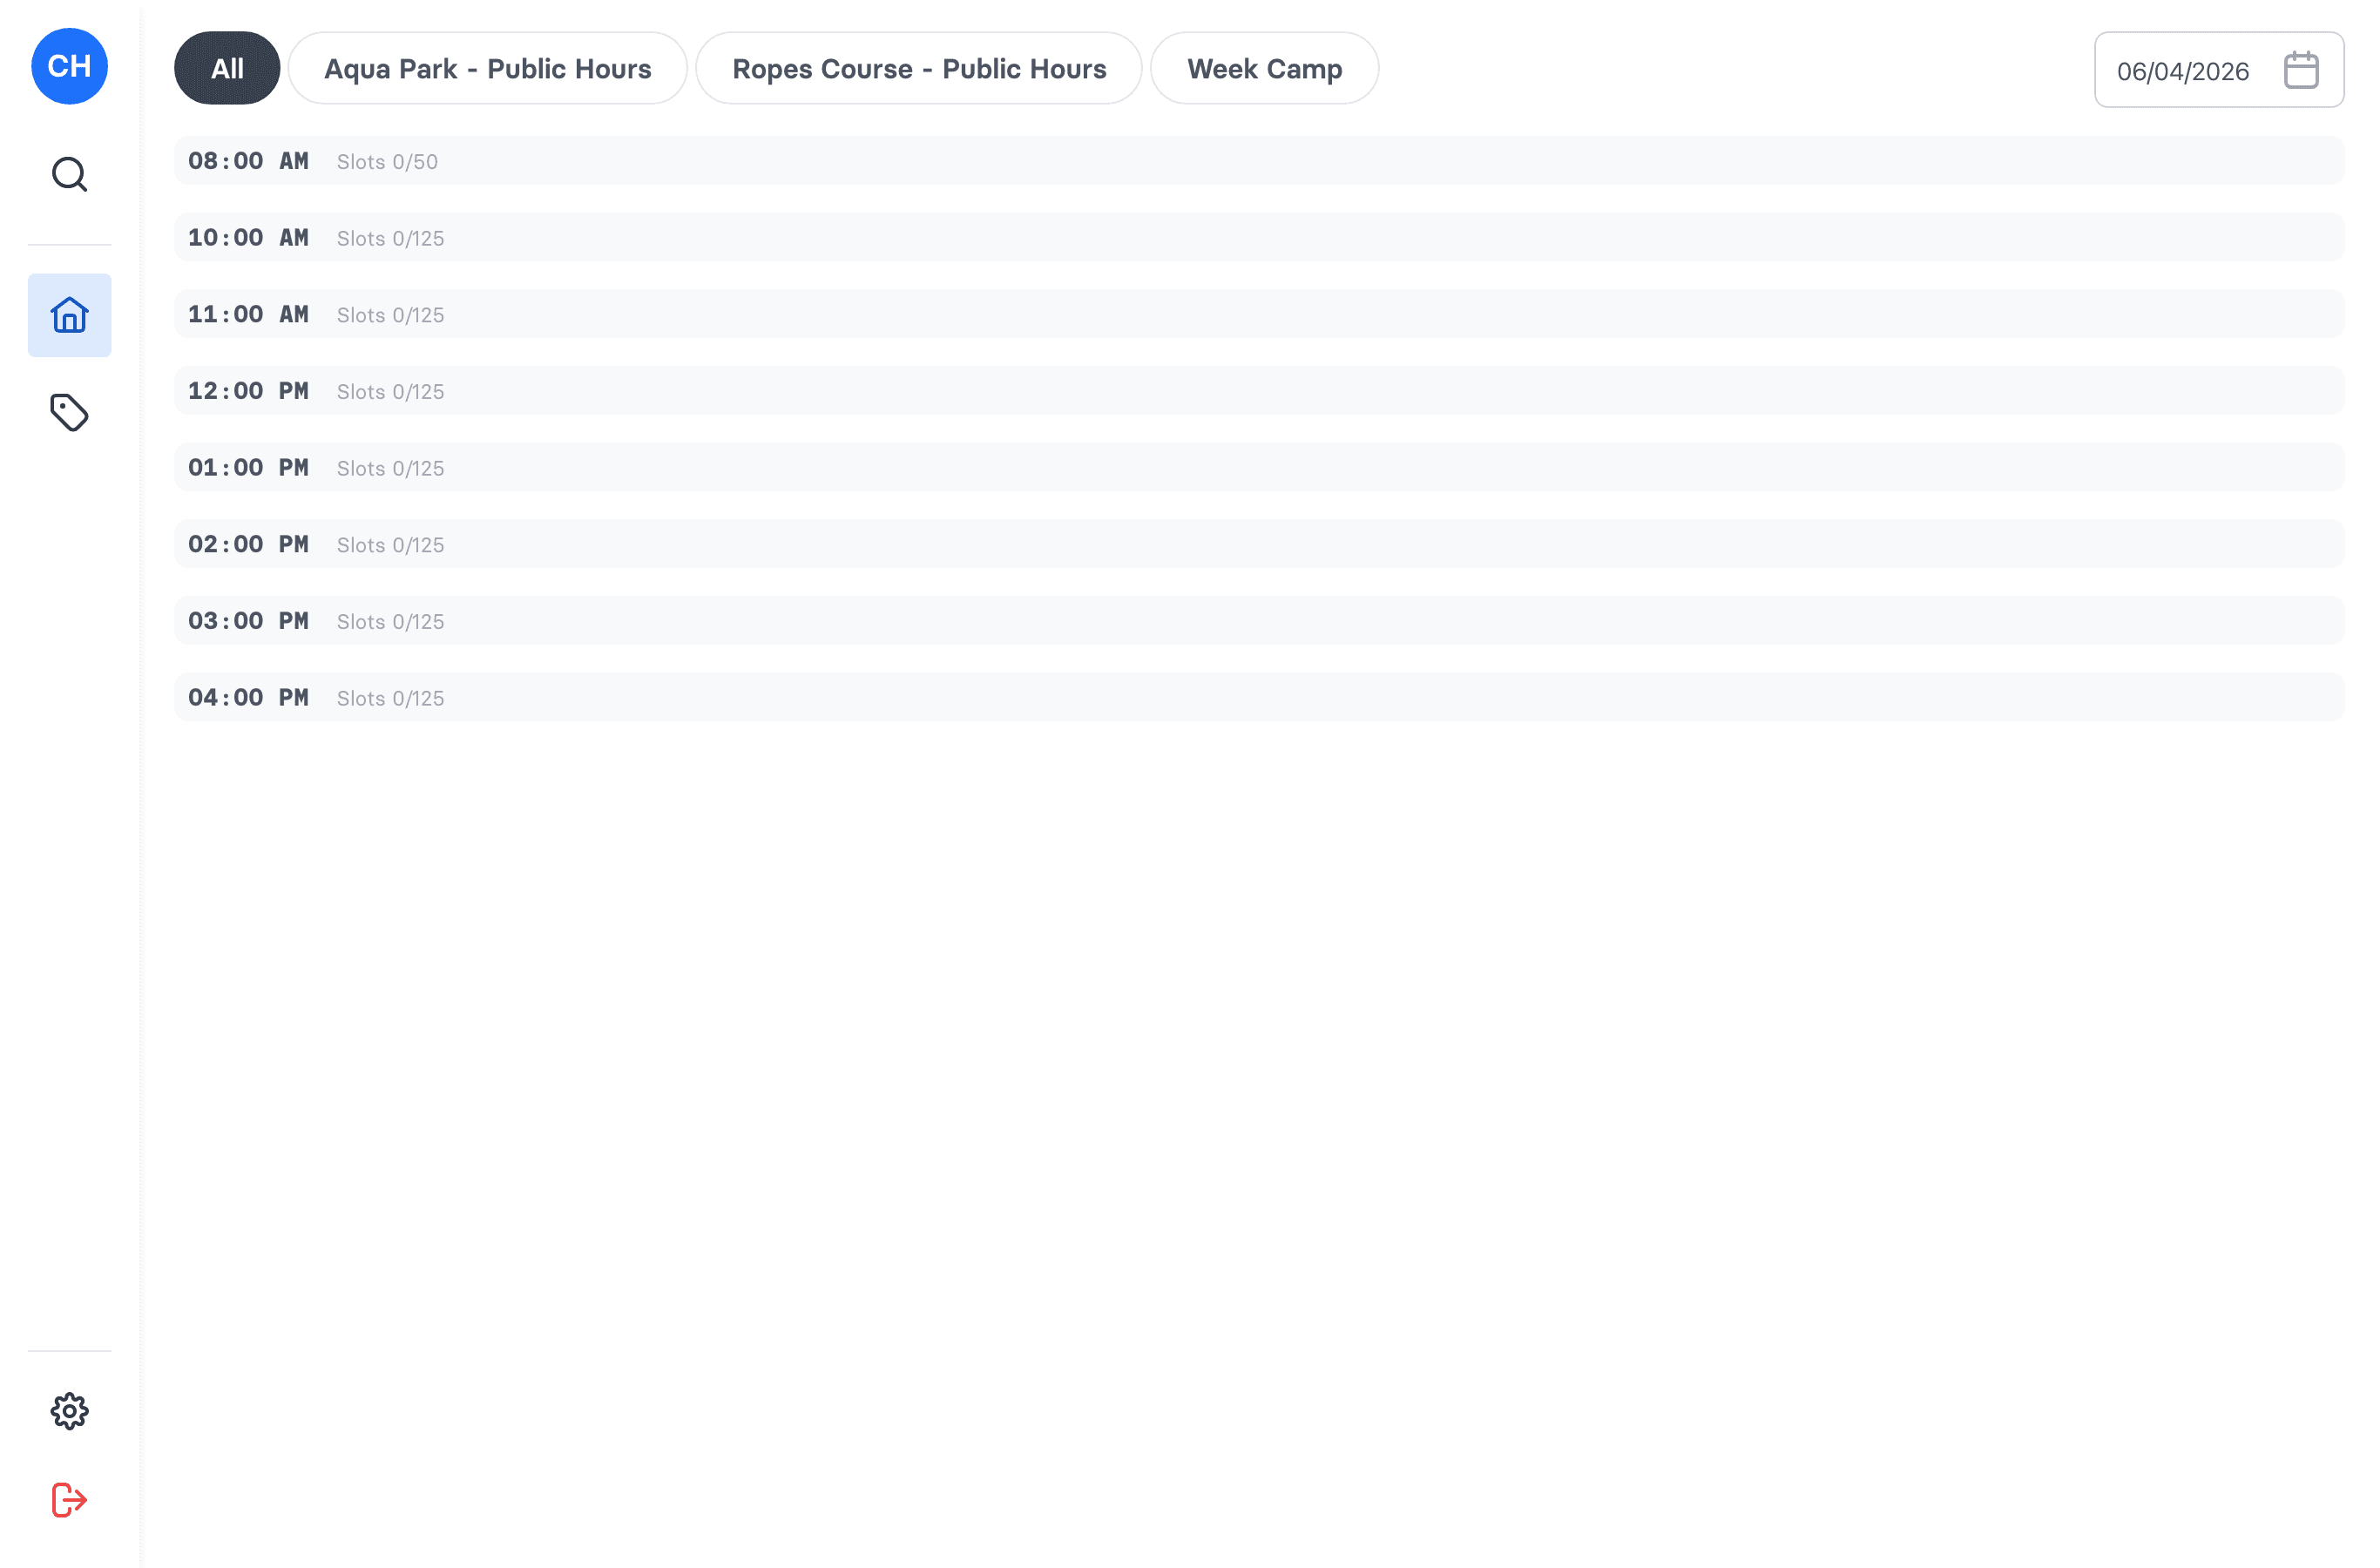
- In the POS, open Bookings and open the booking. A notice reads Assignable ticket(s) left when tickets still need a person.
- Click Assign ticket(s).
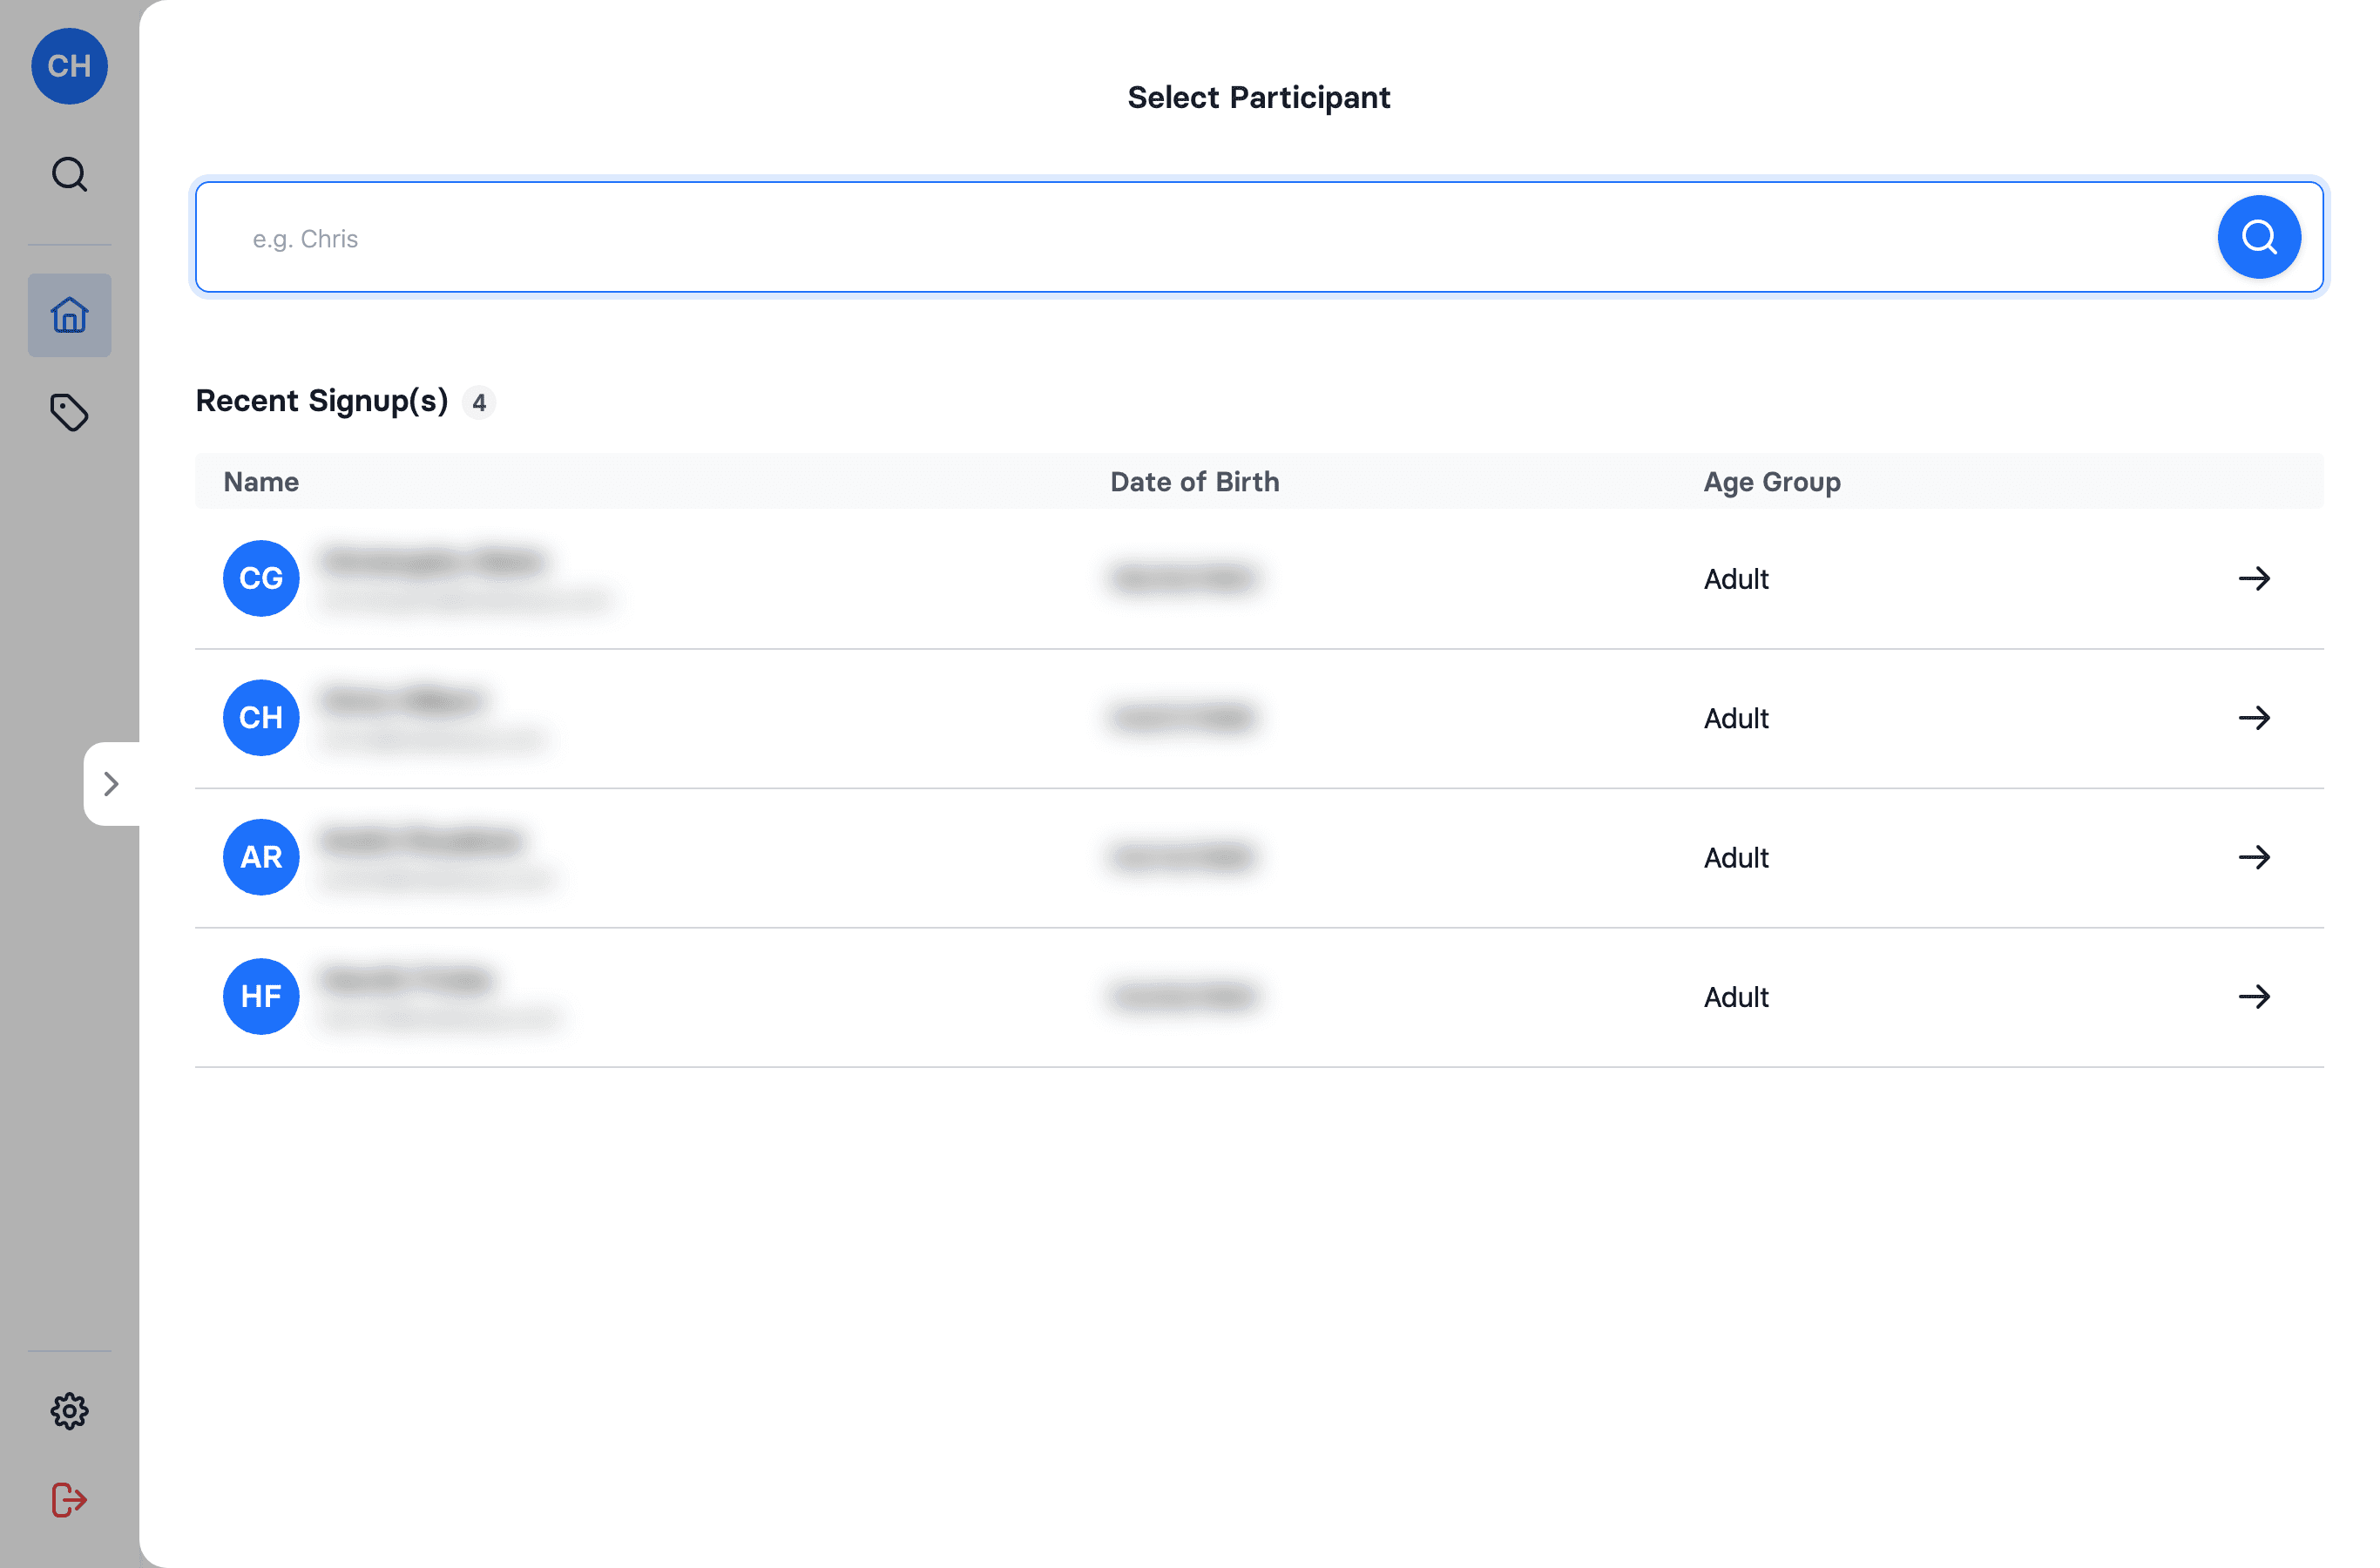
- Select the participant — search for the person or pick them from recent sign-ups.
- Tap Assign on the ticket (or assign several at once).

Reassign or unassign
Open that person's Assigned Ticket(s) (from their row in the booking) and choose:
- Reassign — move the ticket to a different person.
- Unassign — free the ticket so it's unassigned again.
You can't unassign a ticket once the person has been checked in — undo the check-in first.
Can't find the person you want to assign to?
You can only assign a ticket to someone who already has an account. If a child or family member isn't in the system yet, they need to be registered first — and that's done through the on-site signup, not the cash register. See How a visitor adds their children after registering.
Why it matters
Only participants who have a ticket assigned to them appear in the booking's participant list, and only they can be checked in. So assign first, then check in.