How to check participants in
Updated Thu Aug 20 2026 00:00:00 GMT+0000 (Coordinated Universal Time)
Checking in marks a participant as arrived and ready to take part.
Check someone in
- In the POS, open Bookings and open the booking.
- In the participant row, tap Check In — or select several people and use the bulk check-in.
To undo it, use Uncheck on the participant row.
Reading the bookings list at a glance
Bookings are grouped by time slot, and each group header shows how much room is left — for example 2 Ticket(s) left: 4/6.
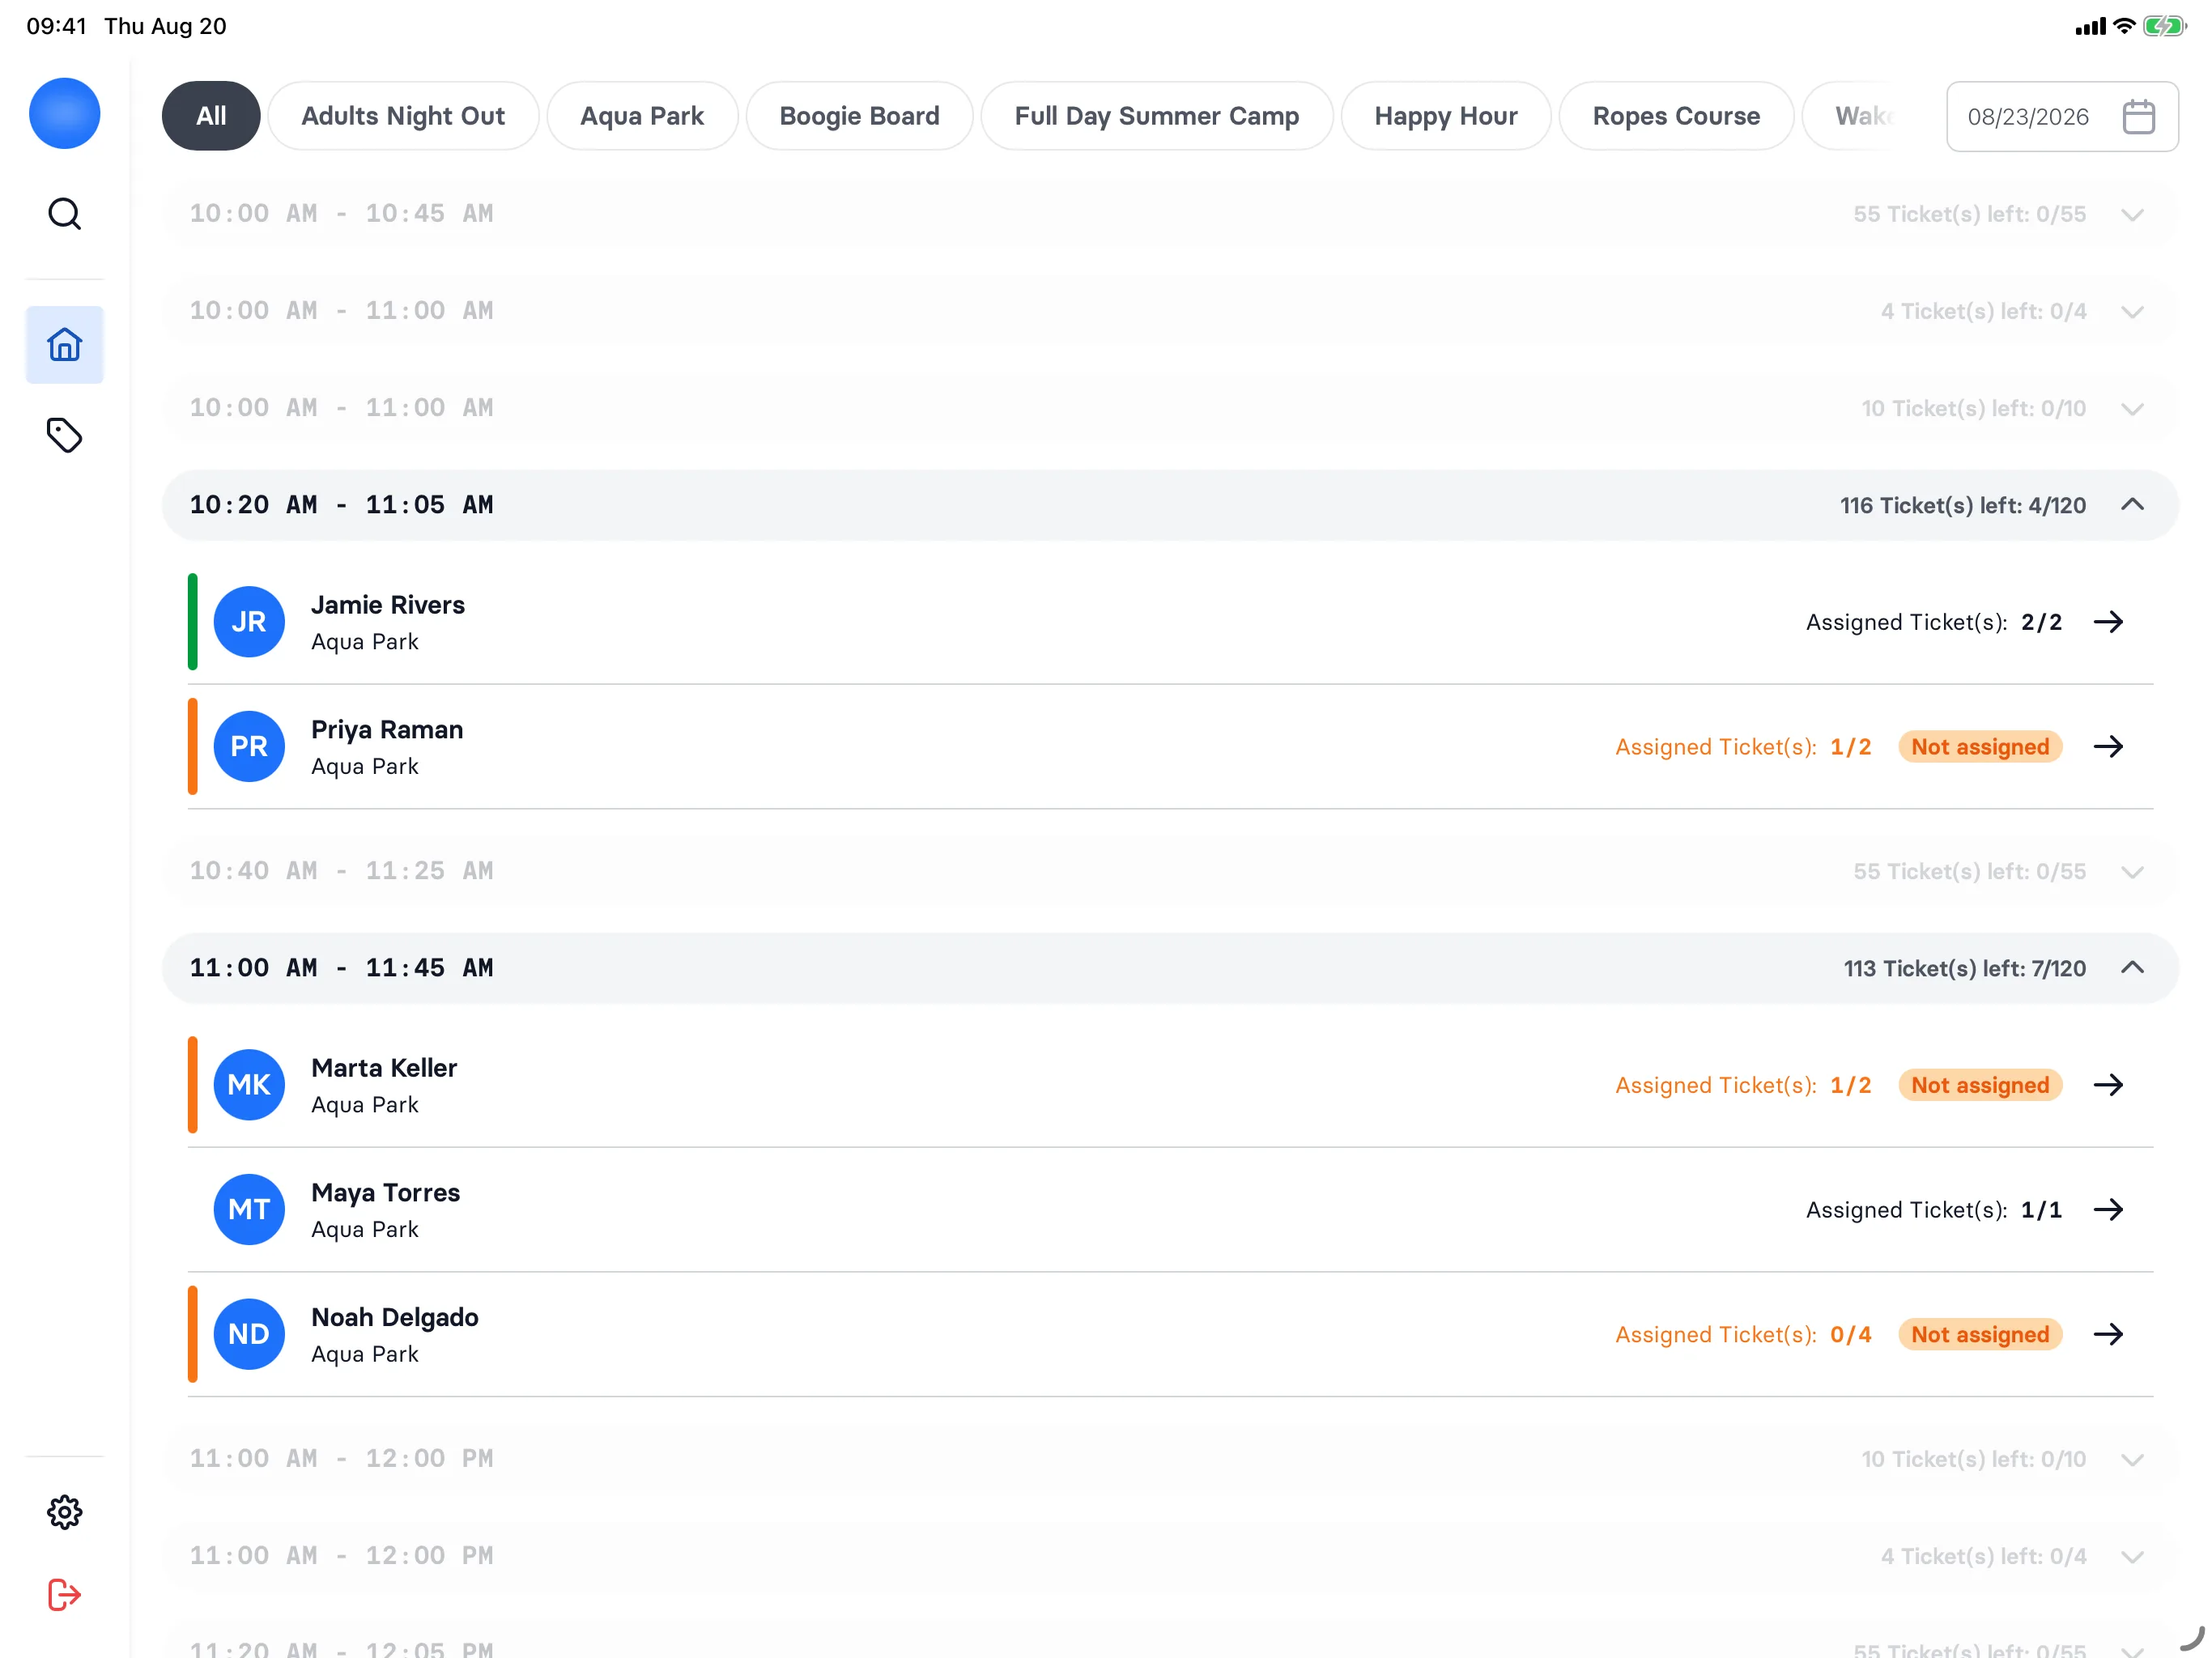
A coloured bar down the left of each booking row tells you where that group stands:
- Amber, with a Not assigned badge — some tickets in the booking still aren't linked to a person. The row also shows the count, e.g. Assigned Ticket(s): 1/2.
- No bar — every ticket is assigned, but not everyone has been checked in yet.
- Green — every ticket is assigned and everyone in the booking is checked in. That group is done; nothing more to do at the desk.
The states are per booking, not per person, so a green bar means the whole group is through.
Why is Check In greyed out?
Two common reasons:
- A required waiver is missing. If your park requires a Release of Liability, the participant must sign it before they can be checked in. See How waivers work.
- They're already checked in.
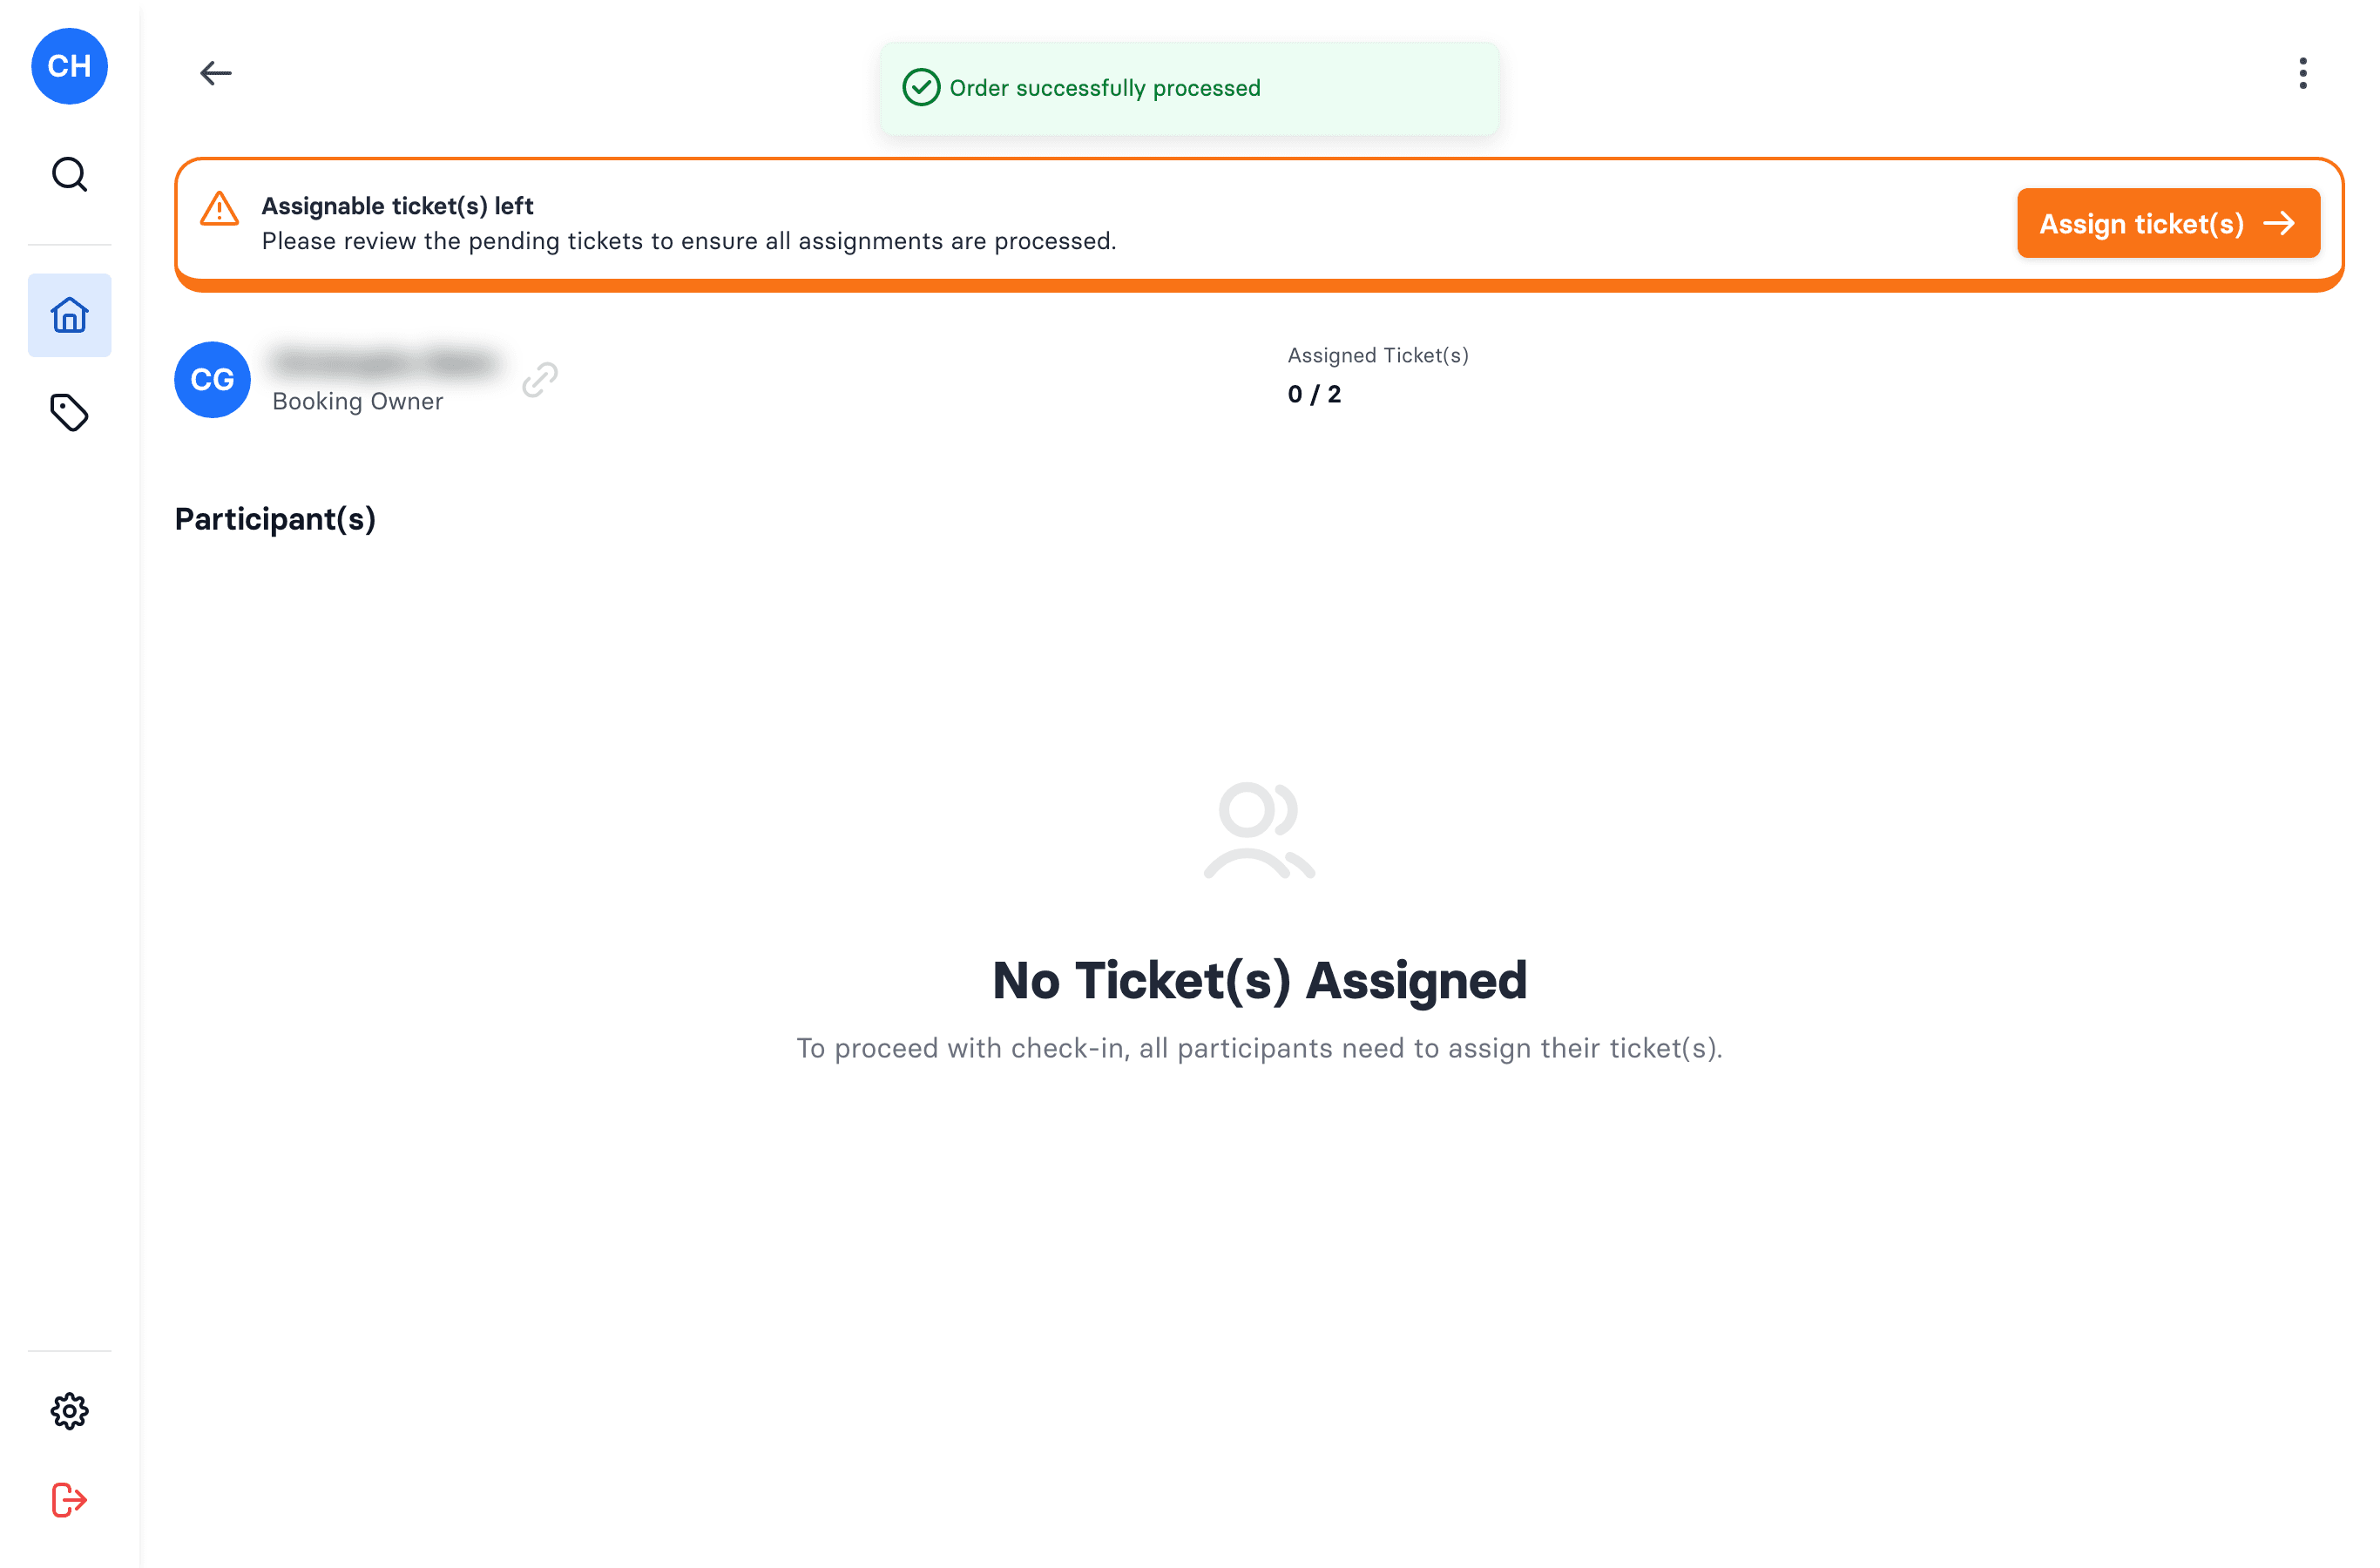
"No tickets assigned"
Only people who have a ticket assigned to them appear in the participant list. If someone's missing, assign their ticket first — see Assign tickets to participants.