Getting started — set up your park step by step
Updated Fri Jun 26 2026 00:00:00 GMT+0000 (Coordinated Universal Time)
This is the start-to-finish guide for getting a brand-new park live on wakesys. Work through the steps in order — by the end you'll have an account, your staff set up, your schedule matching your opening hours, your iPads and card reader ready, and a test booking that proves payments work.
Before you start
A few things are set up for you by wakesys, so you won't find buttons for them in the app:
- Your park details (name, logo, currency, timezone, legal age)
- Your activities, products and prices
- Your time slots (the schedule grid you'll open and close)
- Your legal documents and waiver (Privacy Policy, Terms, Release of Liability, Safety Rules)
If any of these need to change, just email support@wakesys.com — we'll handle it. Everything else below you do yourself.
It also helps to have your hardware ready: an iPad (or two) and a card reader. See Recommended hardware for the exact models we suggest.
Throughout this guide, replace
PARKNAMEin the links with your own park's name — the short name in your wakesys web address. For example, a park called Charleston Aqua Park would usecharlestonaquapark.
Step 1 — Create your account
First, create your personal account.
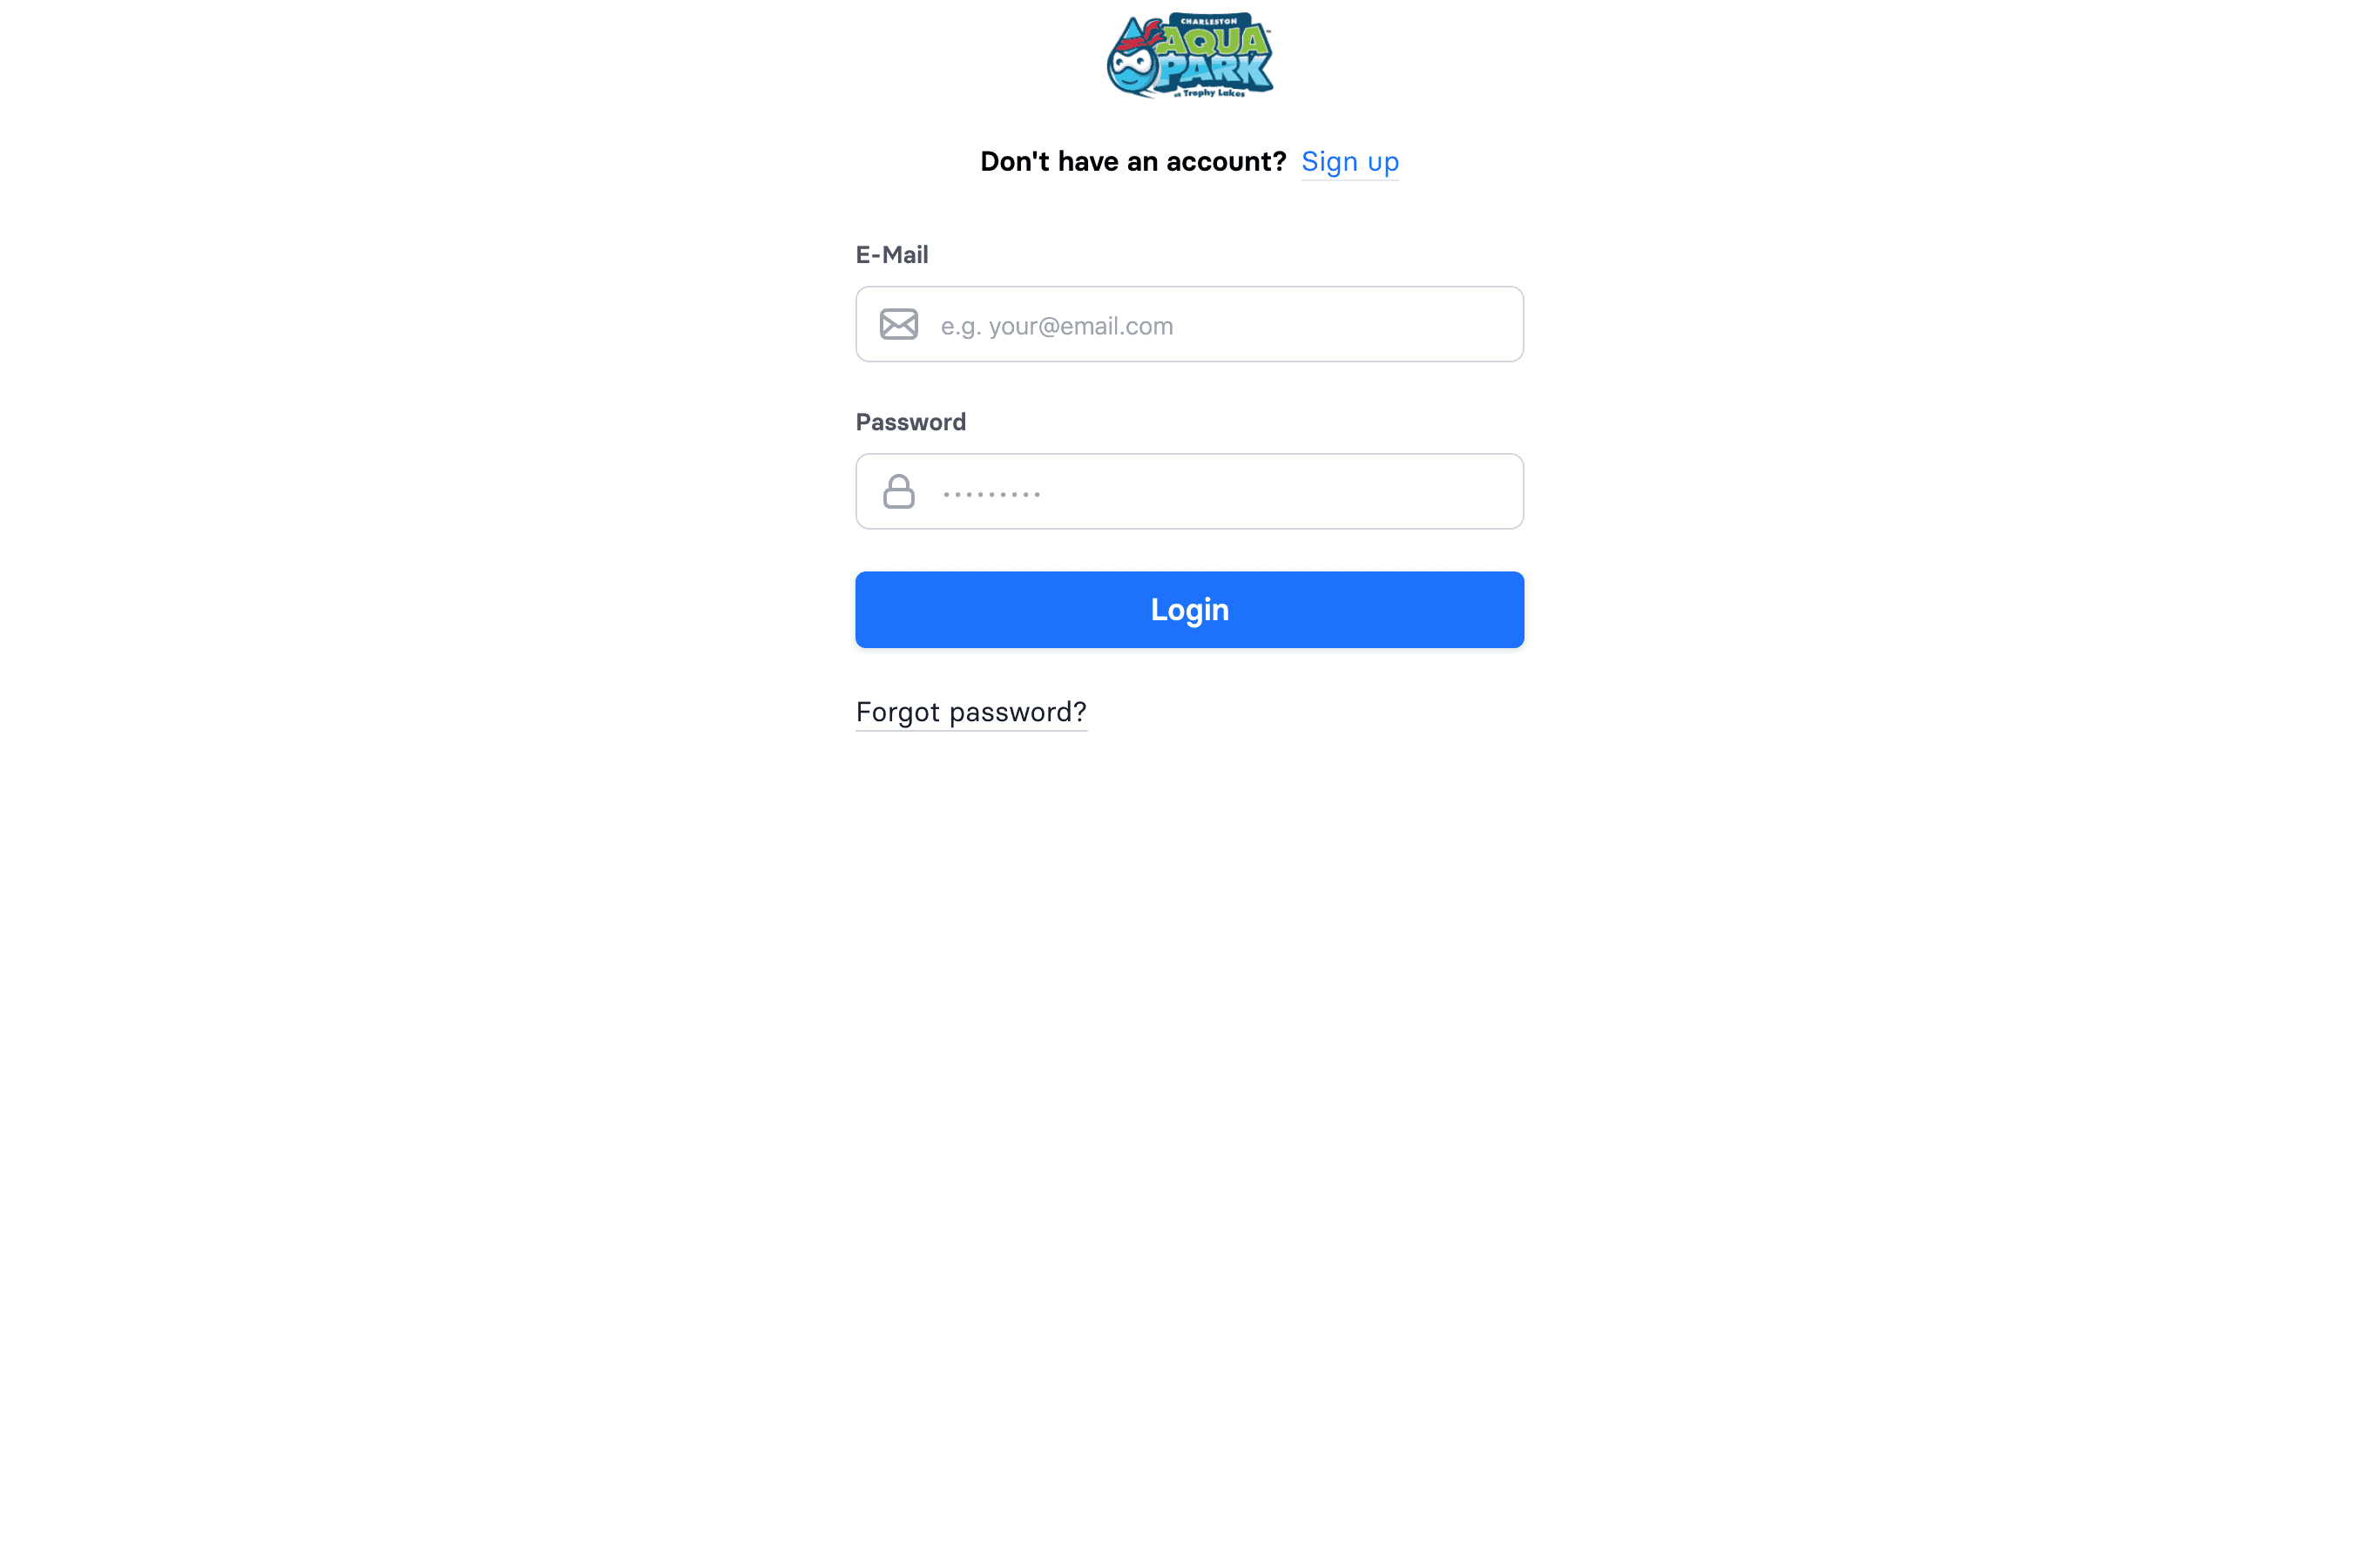
- Open
https://wakesys.app/PARKNAME/auth/signupin your browser (example:https://wakesys.app/charlestonaquapark/auth/signup). - Enter your email and choose a password, then fill in your details.
- Submit the form.
Write down the email and password you used — you'll need exactly these to log in later.
Step 2 — Email us to activate your account
Signing up creates a normal user account — it doesn't yet give you access to the admin area or the cash register. To unlock those:
- Send an email to support@wakesys.com.
- Tell us you've registered, and include the email address you signed up with.
- Ask us to activate you as an Admin and for the cash register.
We'll confirm by email once your account is activated.
Step 3 — Have your staff register too
While you wait for activation, get your team signed up so they're ready when you assign their roles later.
- Send every staff member the same sign-up link:
https://wakesys.app/PARKNAME/auth/signup. - Each person creates their own account with their own email and password.
They don't need to email us — you'll grant them their roles yourself in Step 6. (There's no invitation email in wakesys; people sign up first, then you add them as staff.)
Step 4 — Log in to admin
Once we've confirmed your account is activated as an Admin:
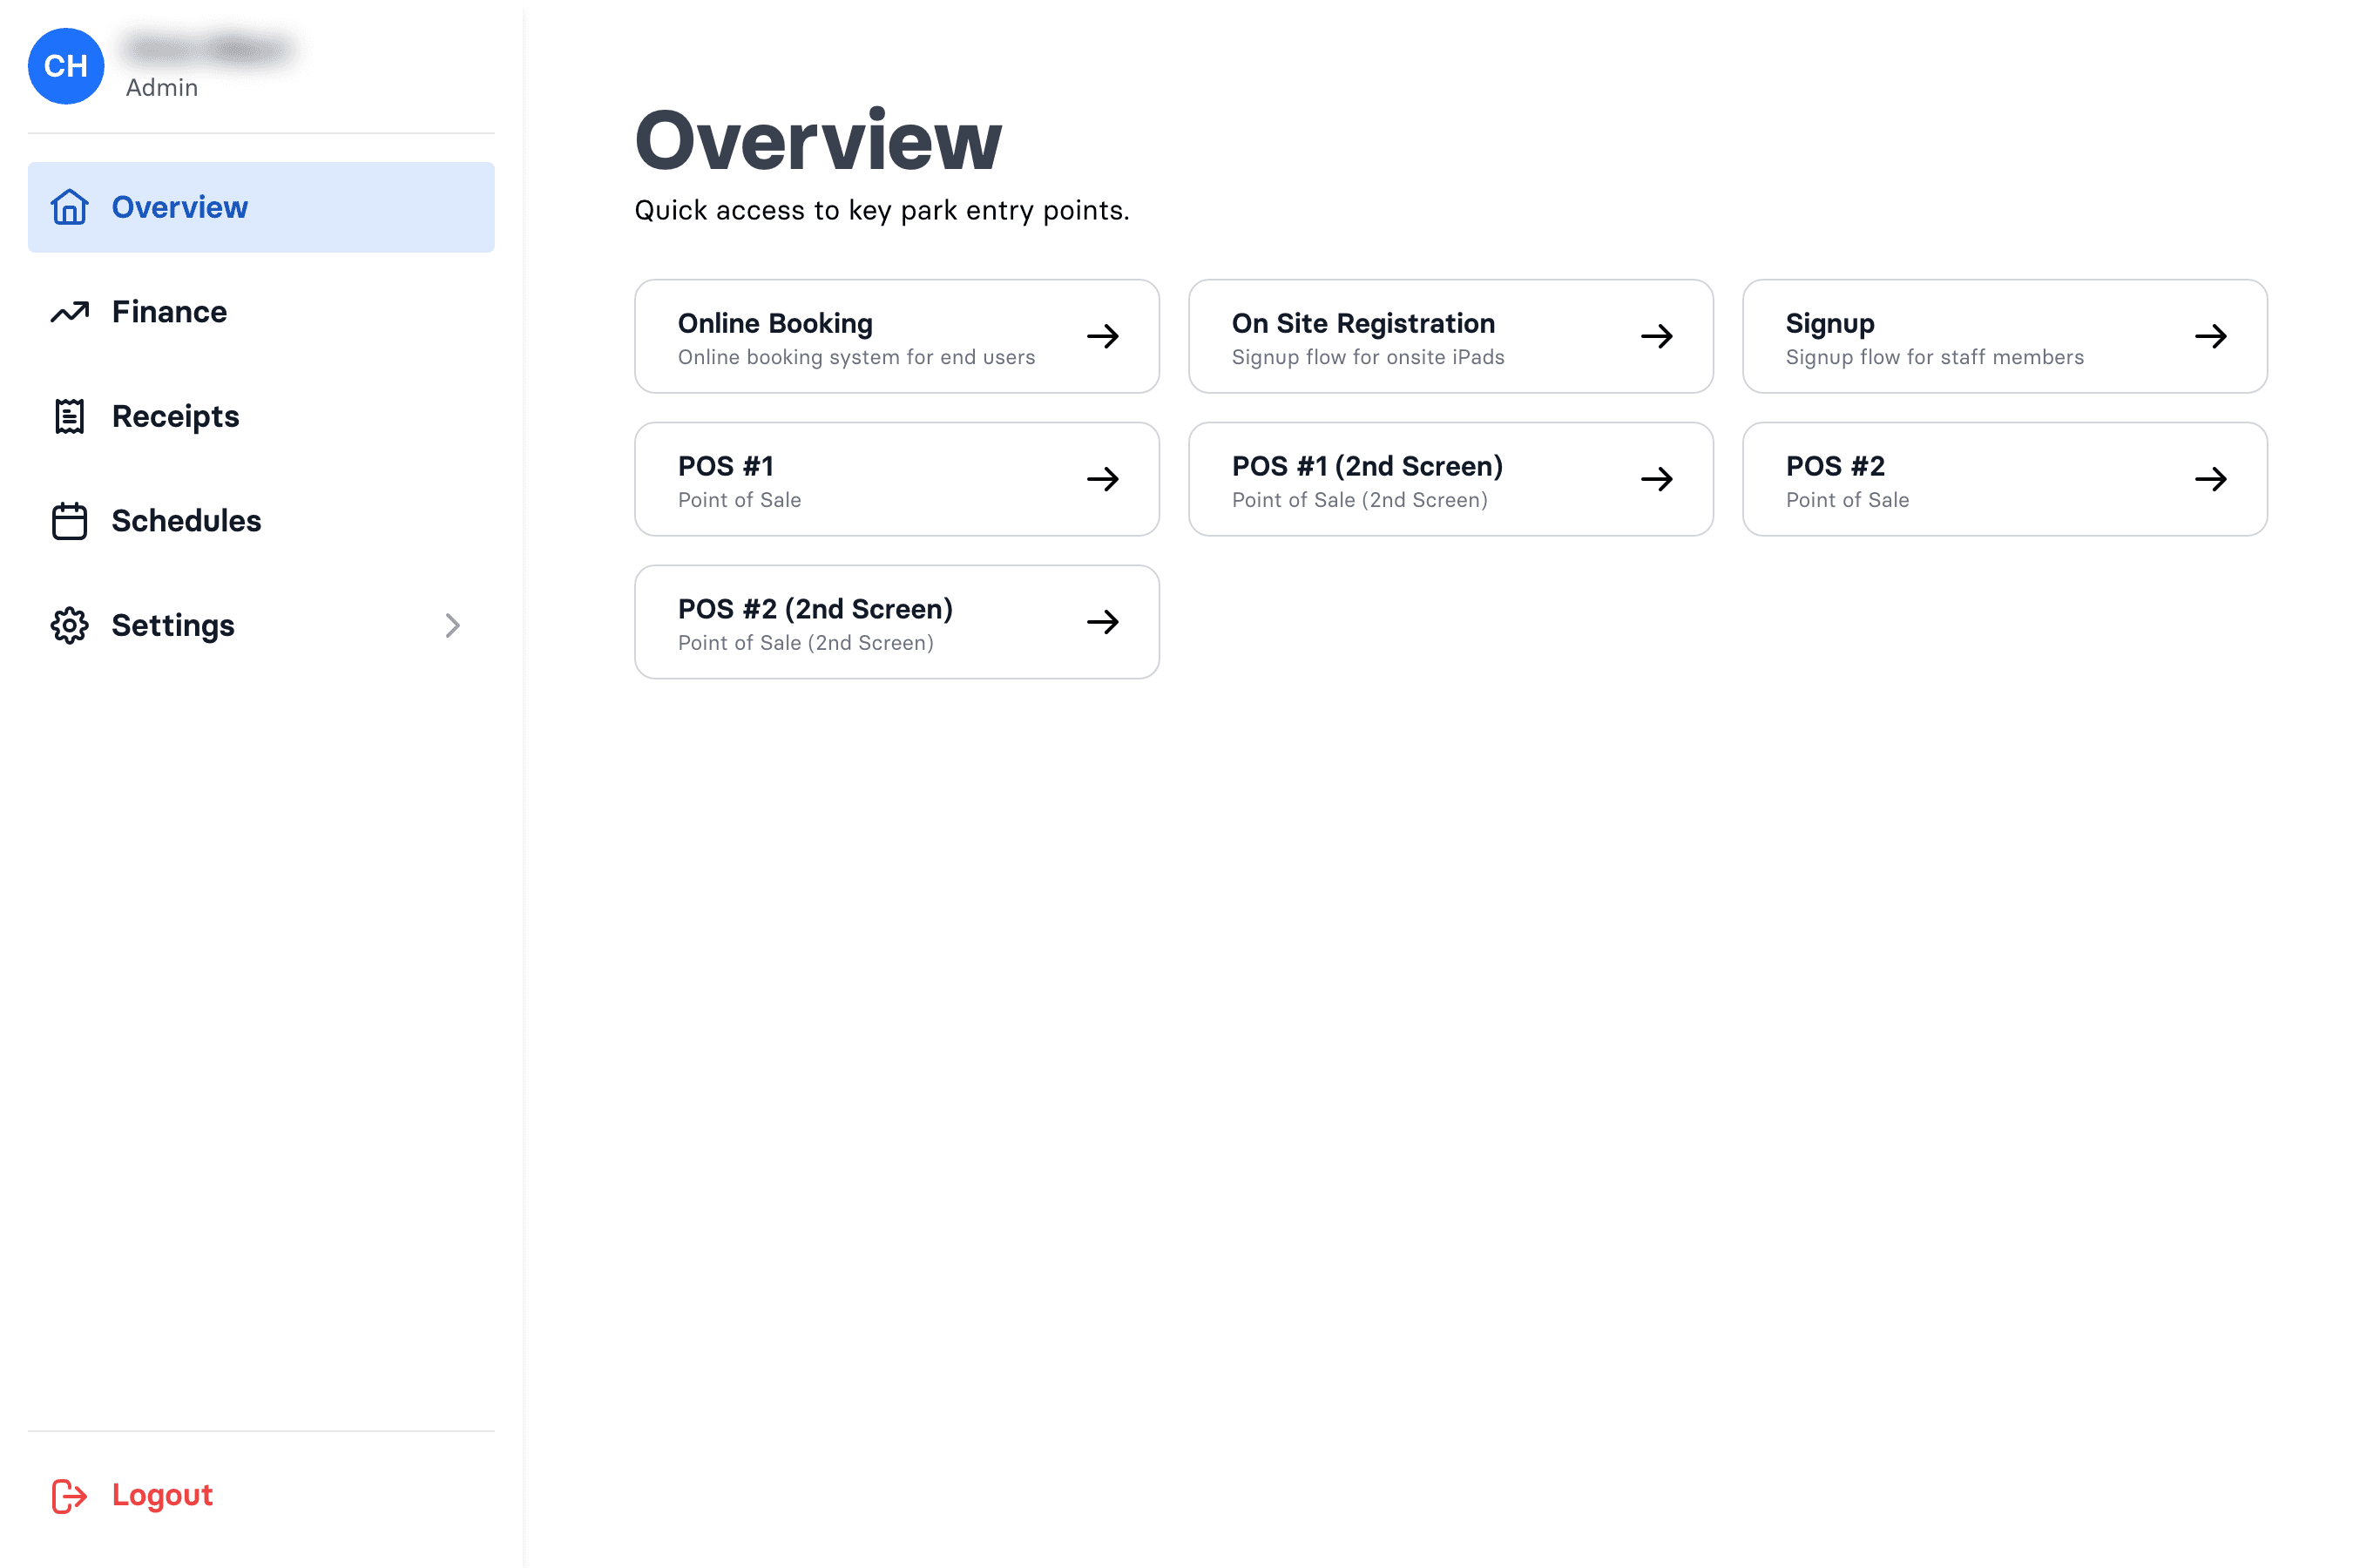
- Go to
https://wakesys.app/PARKNAME/admin(example:https://wakesys.app/charlestonaquapark/admin). - Sign in with the email and password from Step 1.
If you've forgotten your password, use Forgot password? on the login page — the reset link is valid for 30 minutes.
Step 5 — Adapt your schedule to your opening hours
Your schedule is the grid of time slots customers can book. wakesys sets up the slots themselves; your job is to open the ones you're actually running and close the rest, and set how many seats each has — so the schedule matches your real opening hours and days for each activity.
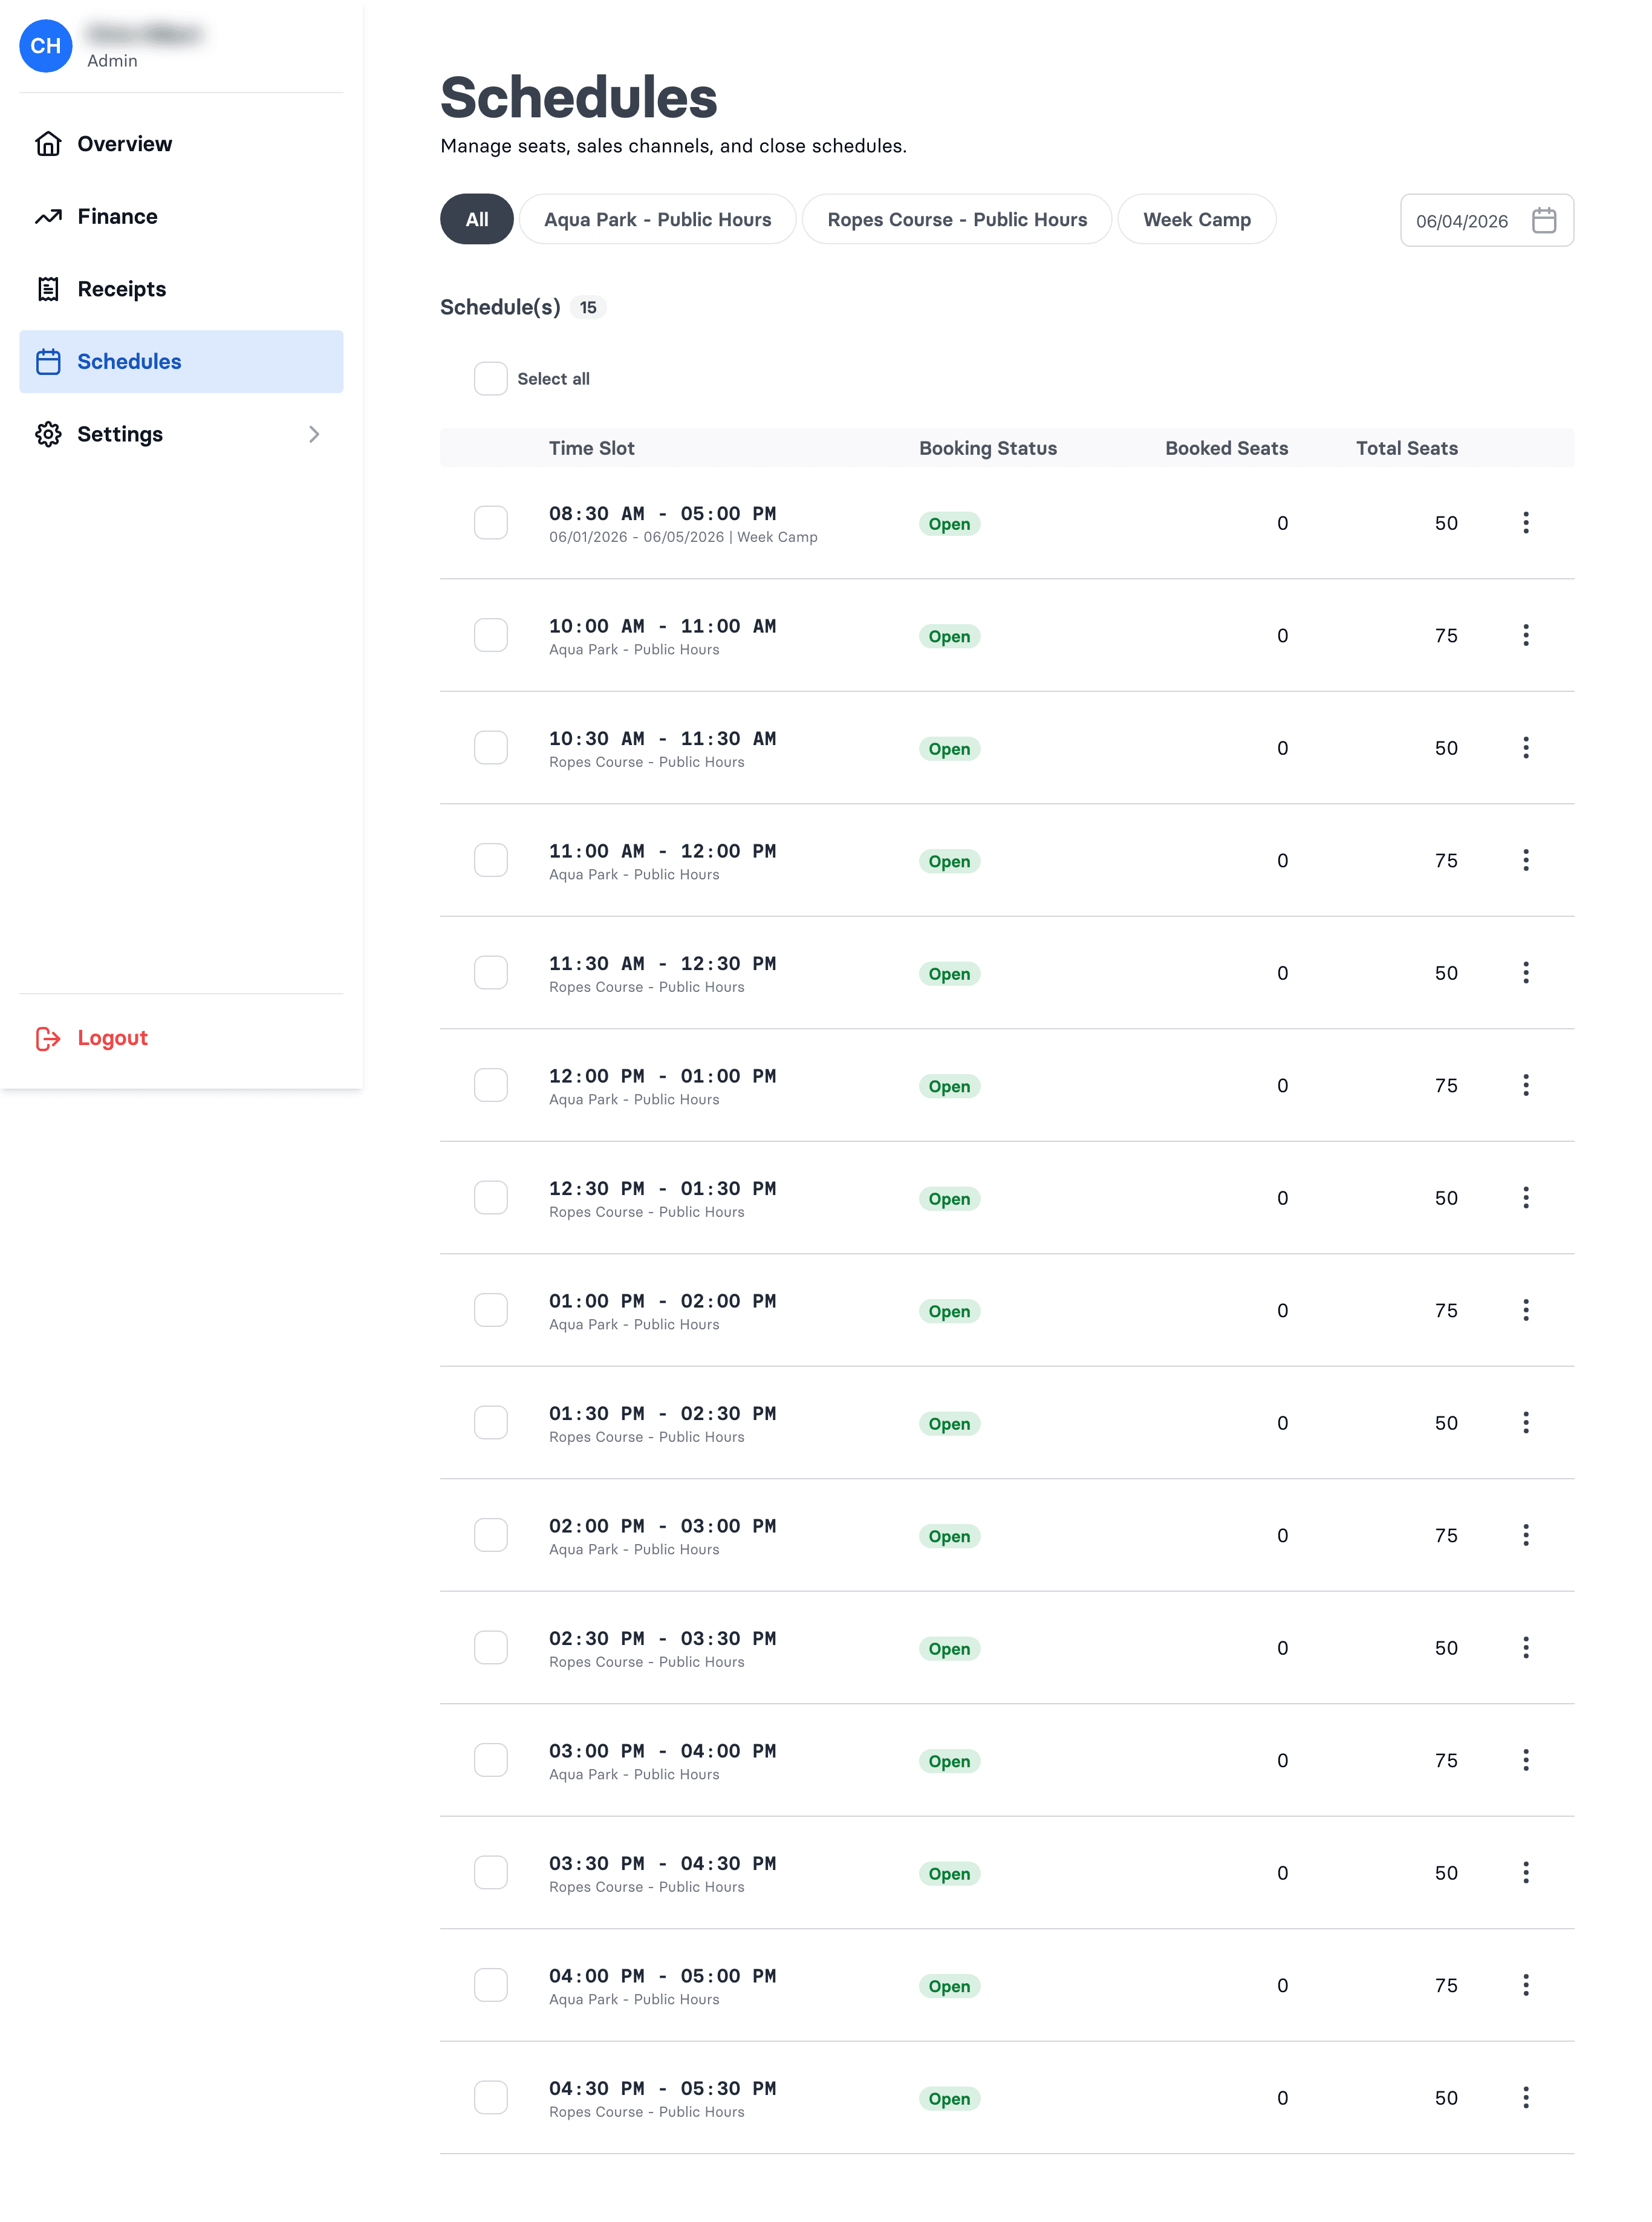
- Go to Admin → Schedules.
- Filter by offer (the chips at the top) and pick a date — you'll see that day's slots, each with Booked Seats and Total Seats.
- Open a slot's ⋯ menu and choose Edit — or tick several slots and use the Edit button to change them all at once (handy for closing a whole day).
- Set the fields and Save.
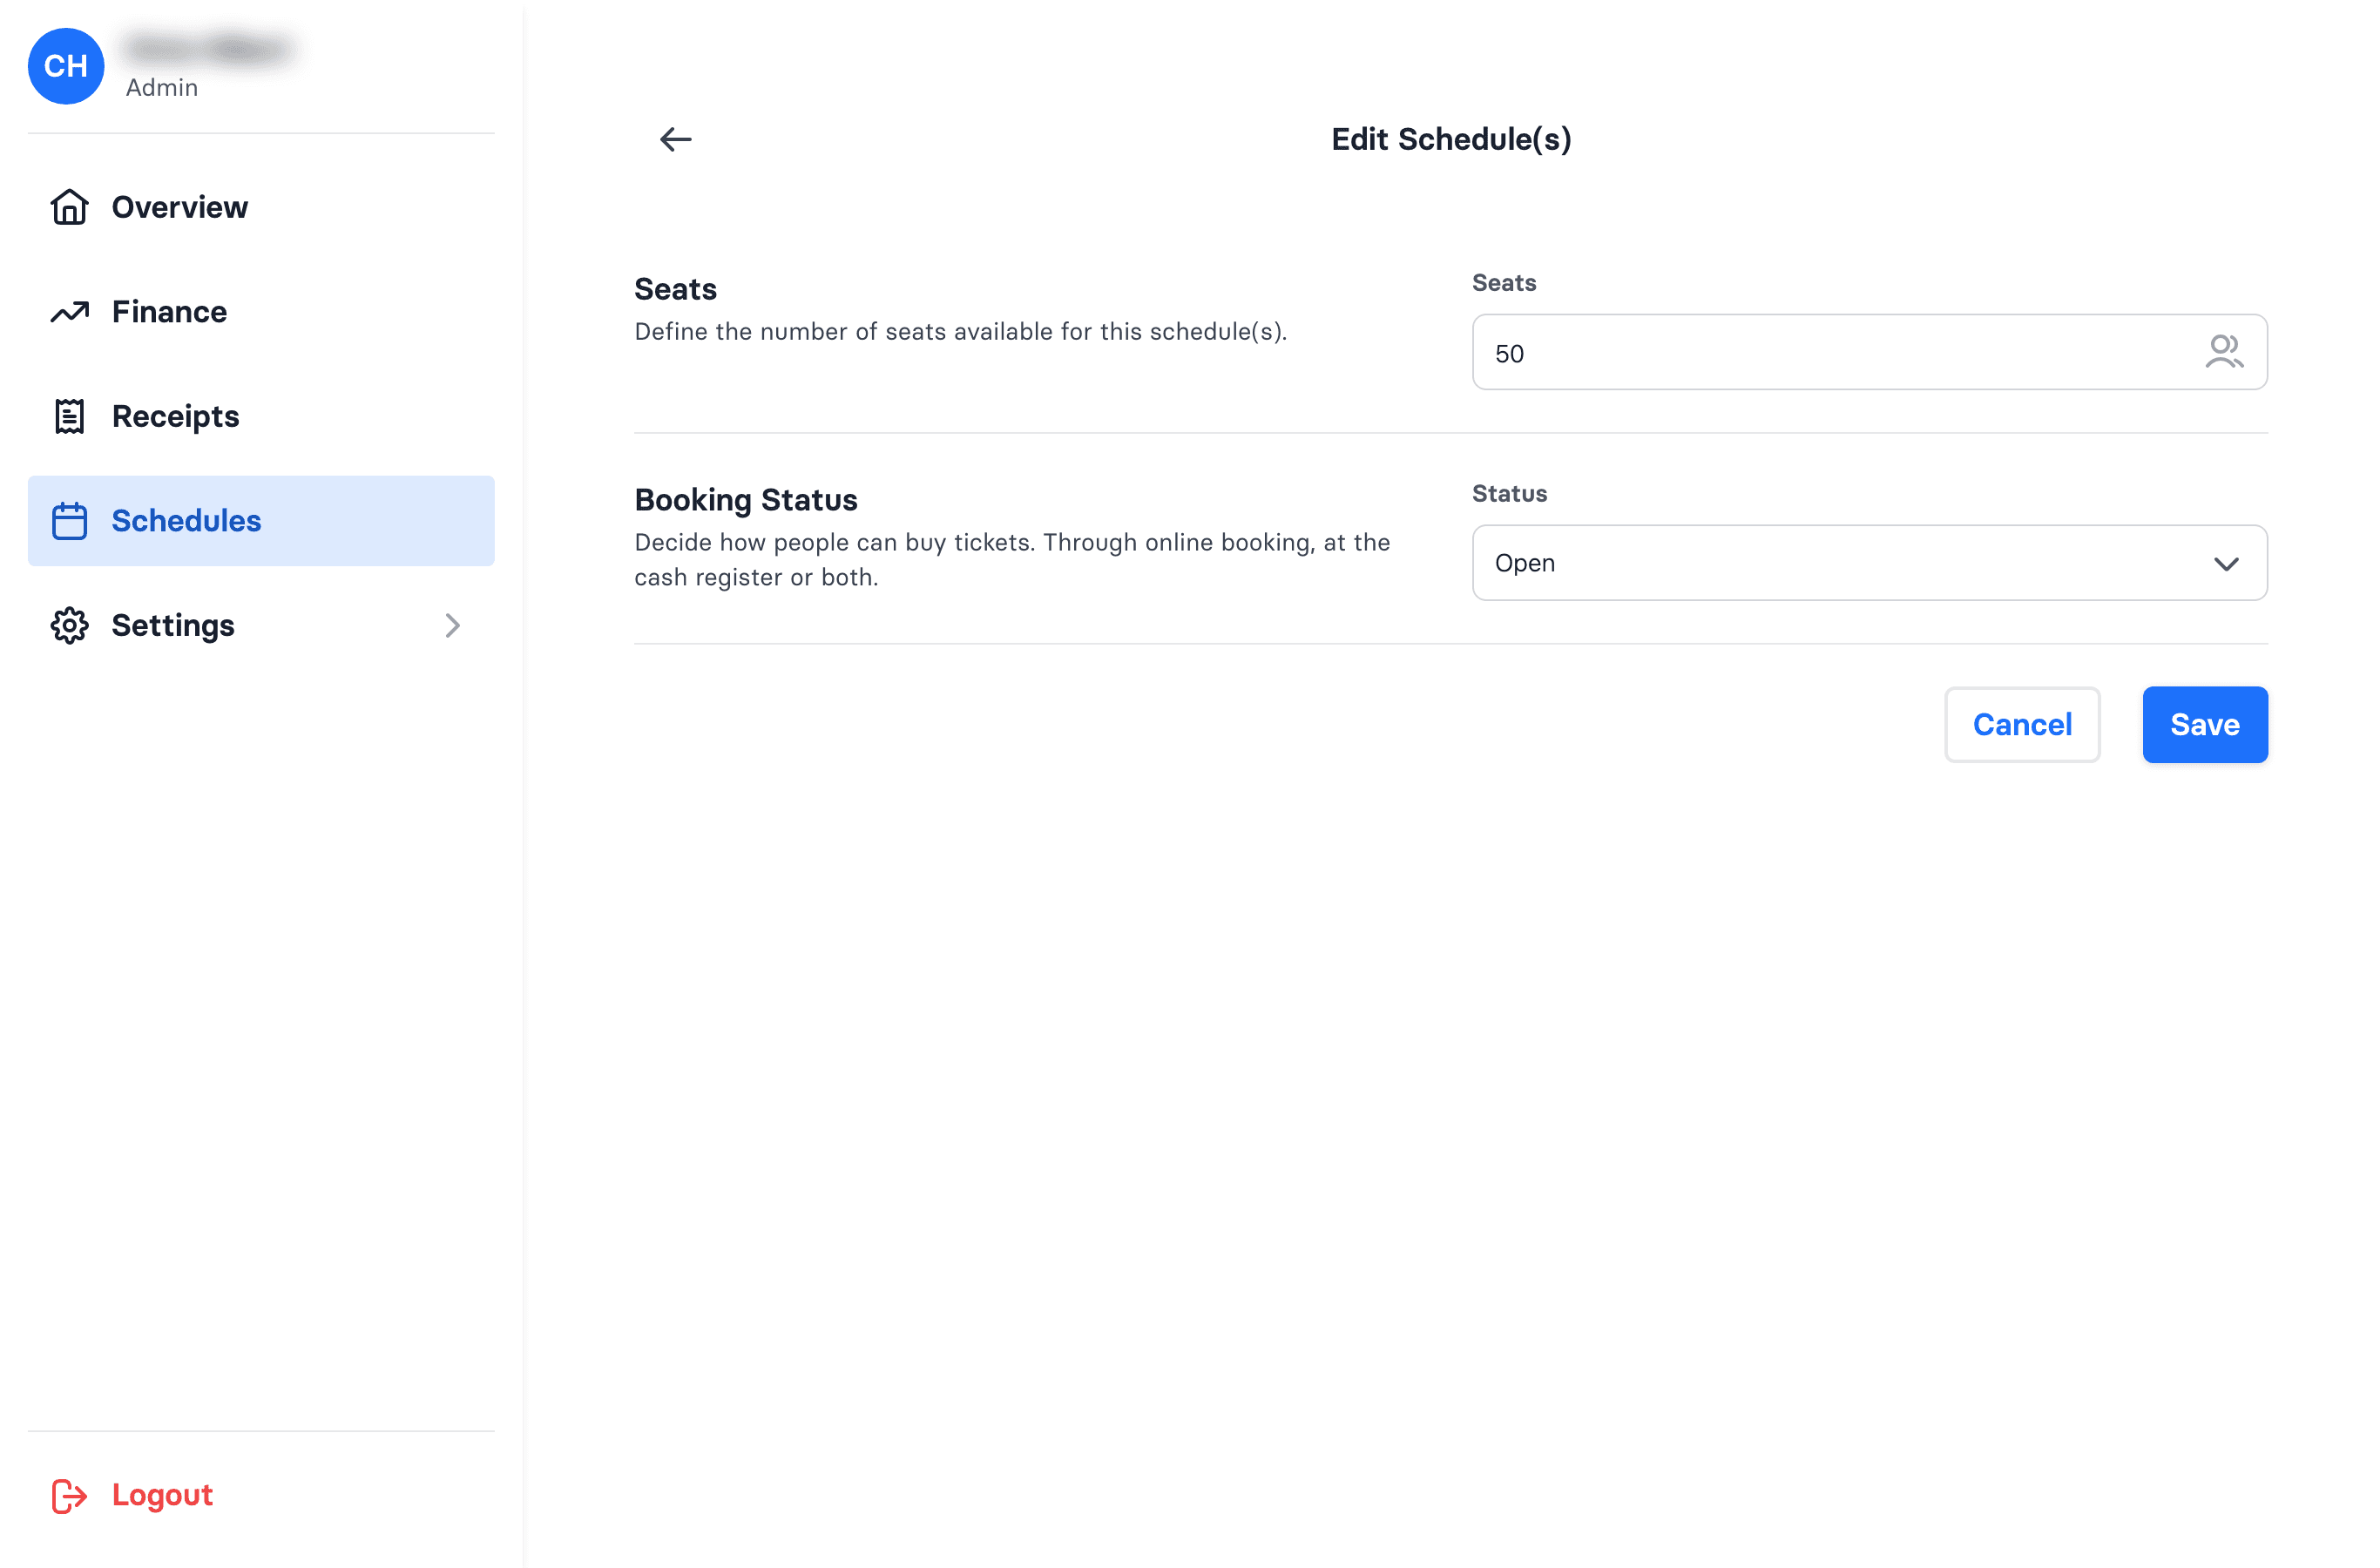
You can change two things per slot:
- Seats — the total seats available for that slot.
- Booking Status — Open (sold online and at the register), Closed (not sold), or POS Only (sold only at the cash register, hidden from online booking).
Go through each activity and set its slots to match your opening days and hours: open the times you're running, close the times you're not.
A few things to know:
- Closing a slot does not cancel existing bookings — it only stops new ones.
- You can't change a slot's time, date, or offer here, and you can't create new or recurring slots from this screen. If your opening hours need slots that don't exist yet, email support@wakesys.com and we'll set them up.
For the full details, see How to edit your schedule.
Step 6 — Give your staff their roles
Now grant access to the team members who registered in Step 3. You need the Admin role to do this (which you have).
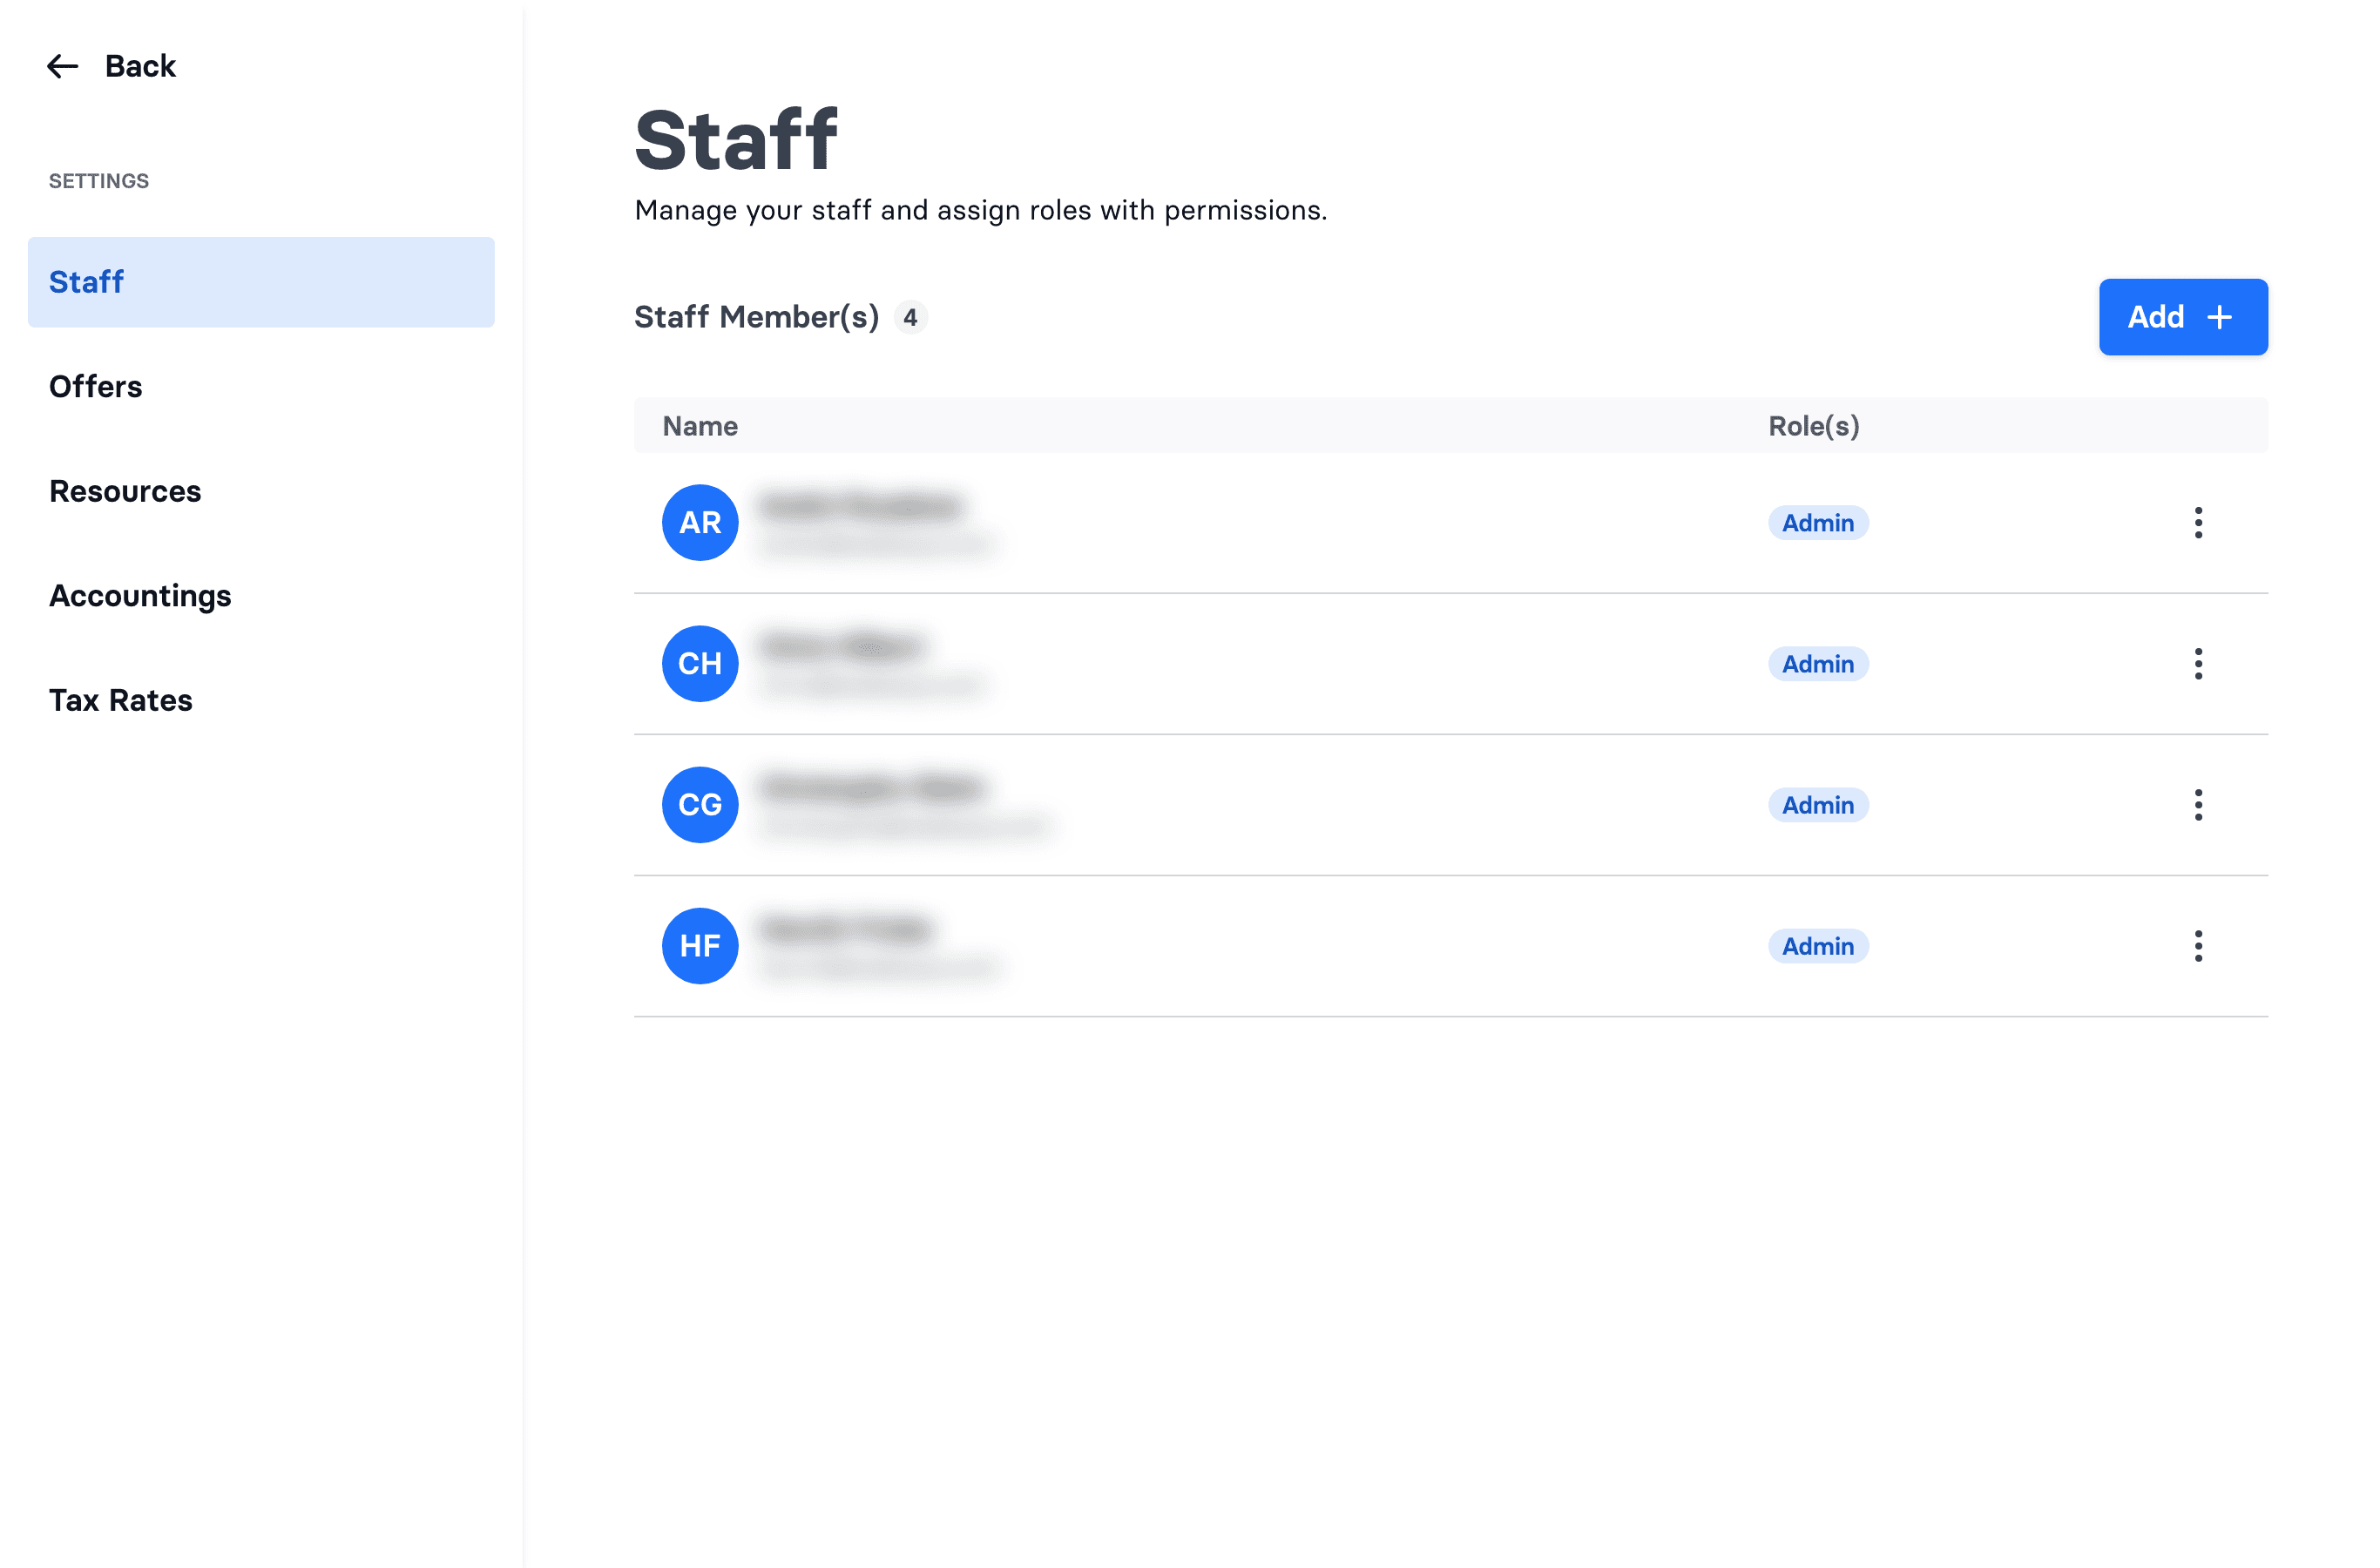
- Go to Admin → Settings → Staff.
- Click Add.
- Search for the person by name or email and select them — they must have already signed up (Step 3).
- On the Roles page, tick Admin, Cashier, or both (at least one is required).
- Click Save.
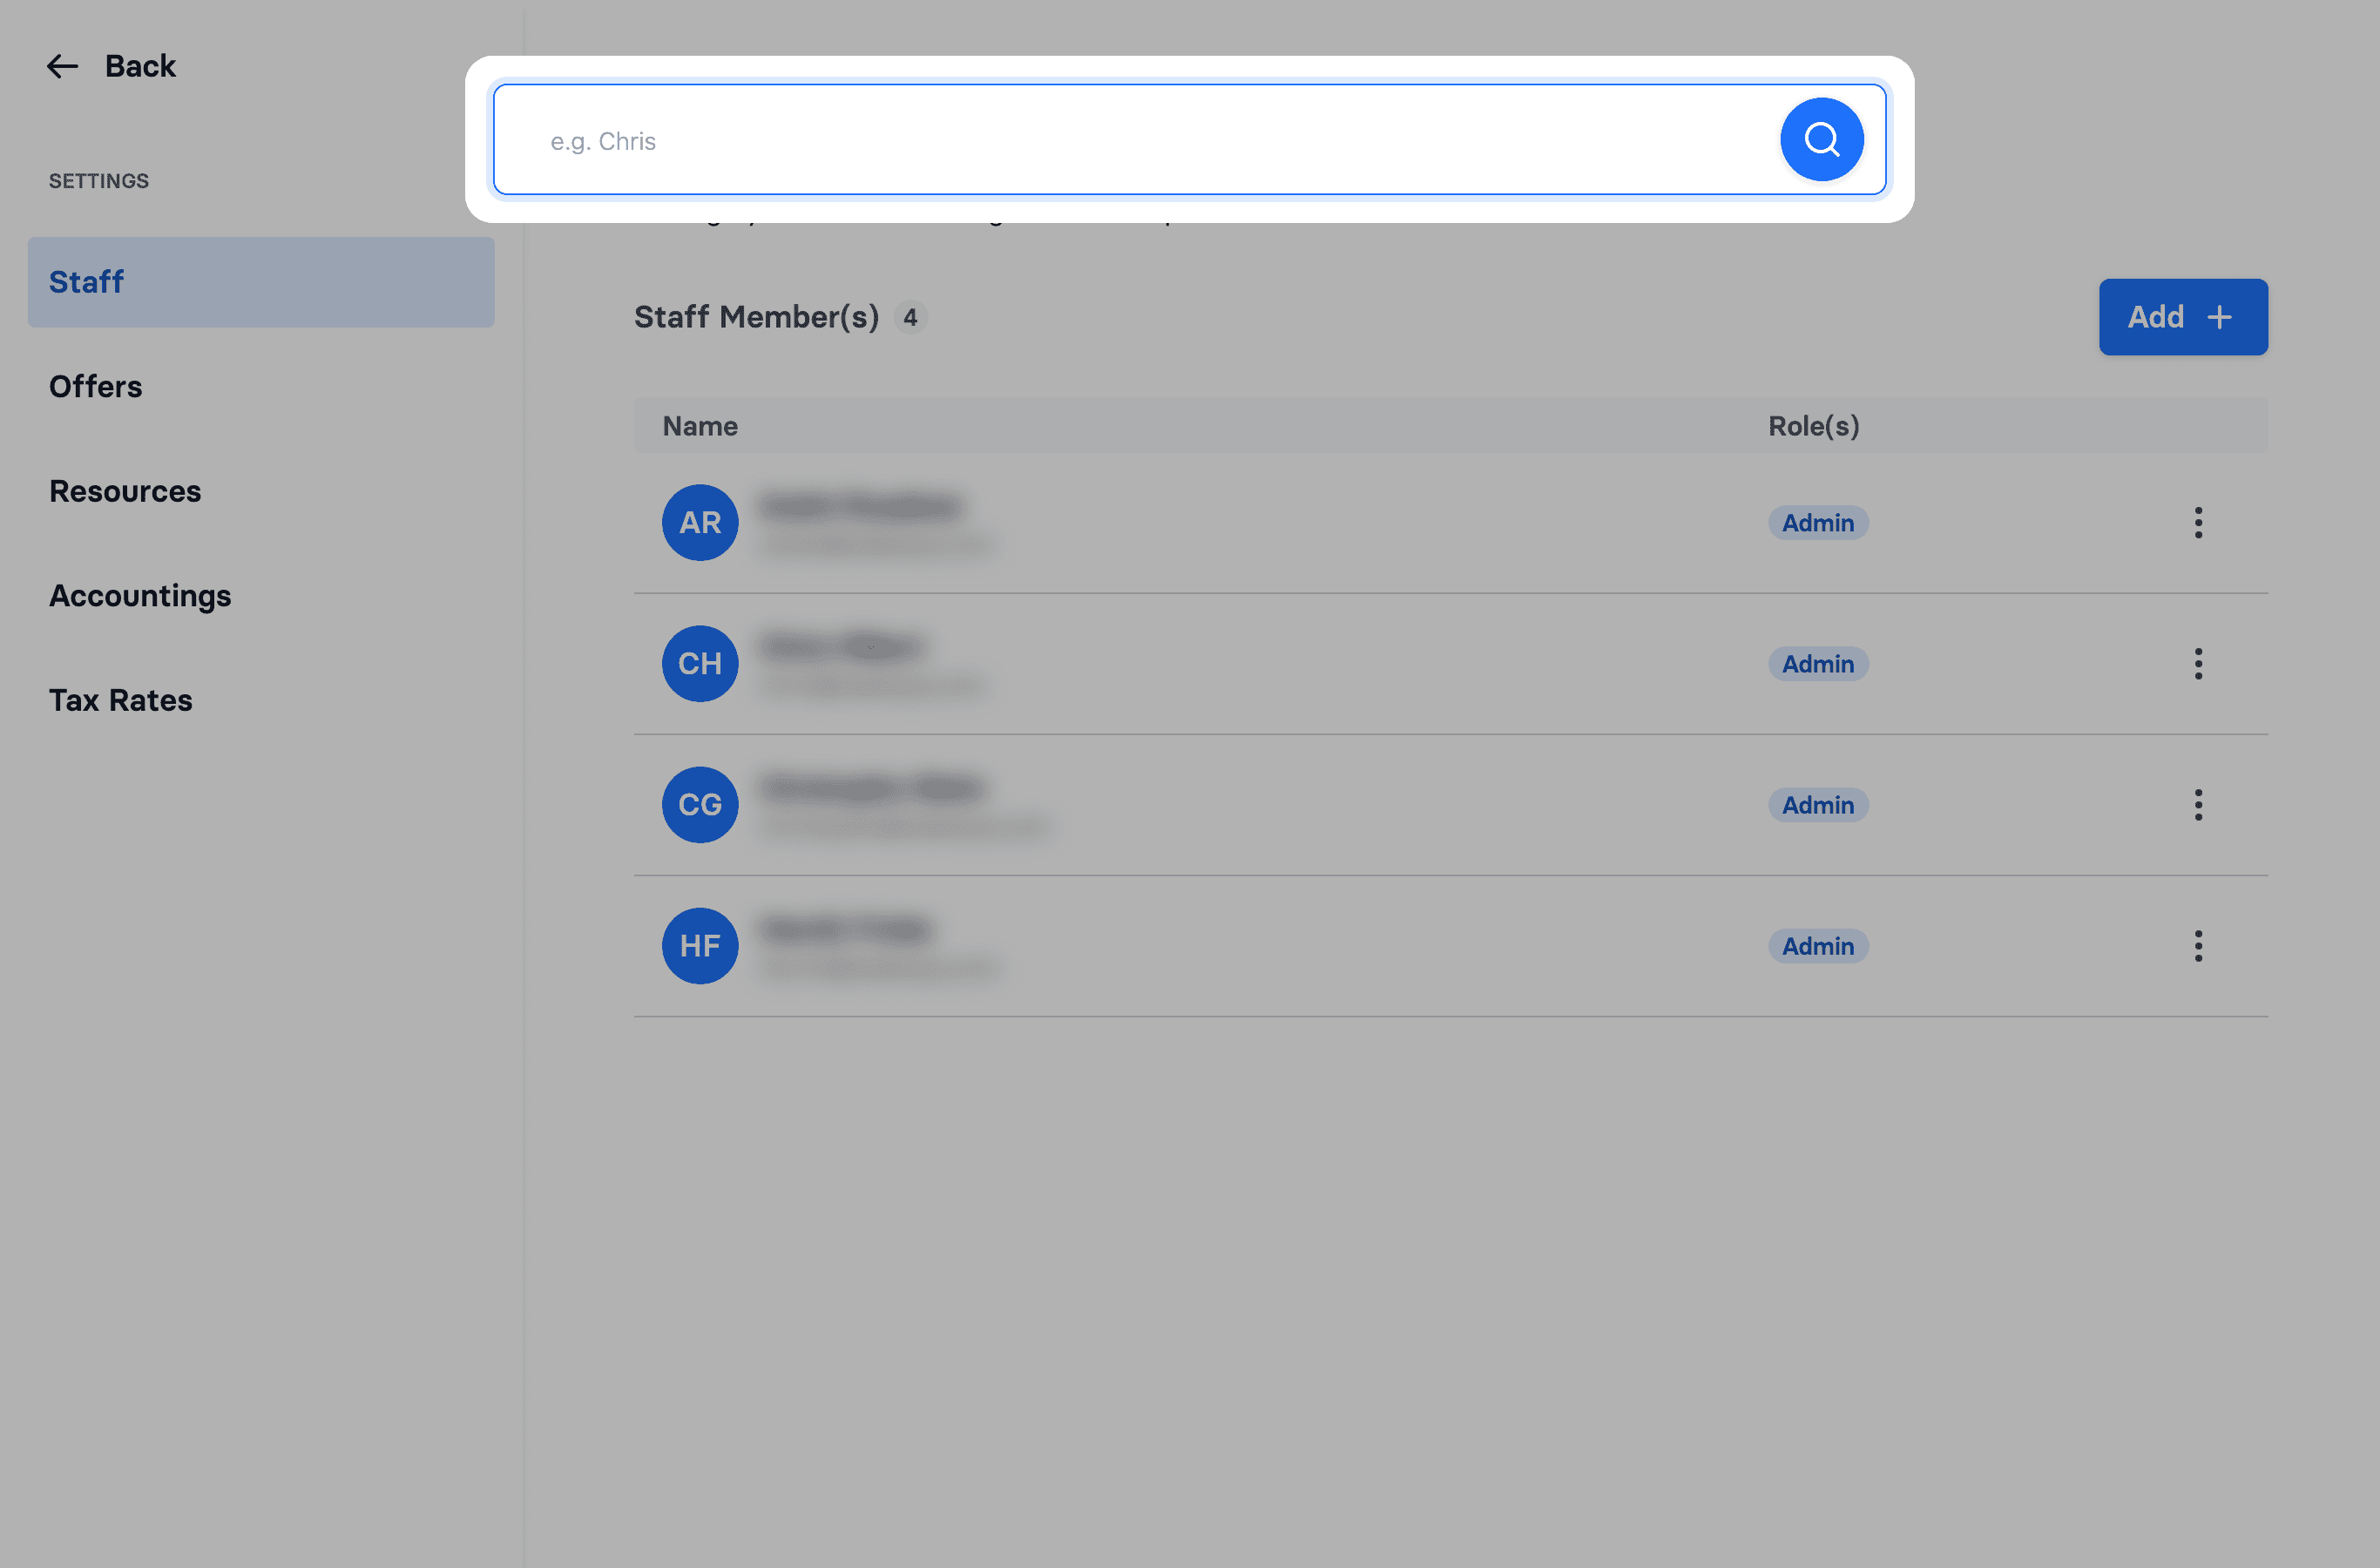
Which role to pick:
- Admin — full access: settings, schedules, staff, receipts, and finance.
- Cashier — the cash register (POS), customer search, and schedules. Cashiers can't see finance, receipts, or settings.
Pick Cashier for front-desk staff who only sell and check guests in, and Admin for managers. For more, see How to add staff and set their permissions and Staff roles explained.
Step 7 — Set up your iPads, card reader, and run a test booking
This last step gets your desk hardware ready and proves a real payment goes through end to end.
7a — Install the wakesys app on your iPads
wakesys runs on iPads straight from Safari — there's no App Store download. You open the right web address, then add it to the Home Screen so it runs full-screen like an app. Do this on each iPad you'll use at the desk.
There are two iPad setups, both listed under Quick Links in Admin:
- Tablet (signing pad) — paired to a cash register. It sits at the desk showing your logo, and the cashier pushes waivers to it for guests to sign.
- On-site registration kiosk — a self-service station where guests register themselves before coming to the desk.
For each one: open Safari, go to the address from Quick Links, sign in if prompted, then tap Share → Add to Home Screen. Full walkthrough: How to set up wakesys on your iPads.
7b — Connect Stripe and set up your card reader
To take card payments you need a Stripe account connected, and a card reader onboarded.
- Connect your Stripe account so wakesys can take payments and manage your reader — see Give wakesys access to your Stripe account.
- Onboard your reader (we recommend the Stripe Reader S700/S710): connect it to Wi-Fi, generate a registration code, and register it in your Stripe Dashboard. Then let us know and wakesys links it to your point of sale so Terminal appears as a payment option at checkout.
Full steps: How to set up your Stripe card reader. (Skip this if your reader is already set up.)
7c — Run a test booking with a discount
Finally, ring up a test sale for yourself or a staff member, and pay with the card reader to confirm everything works.
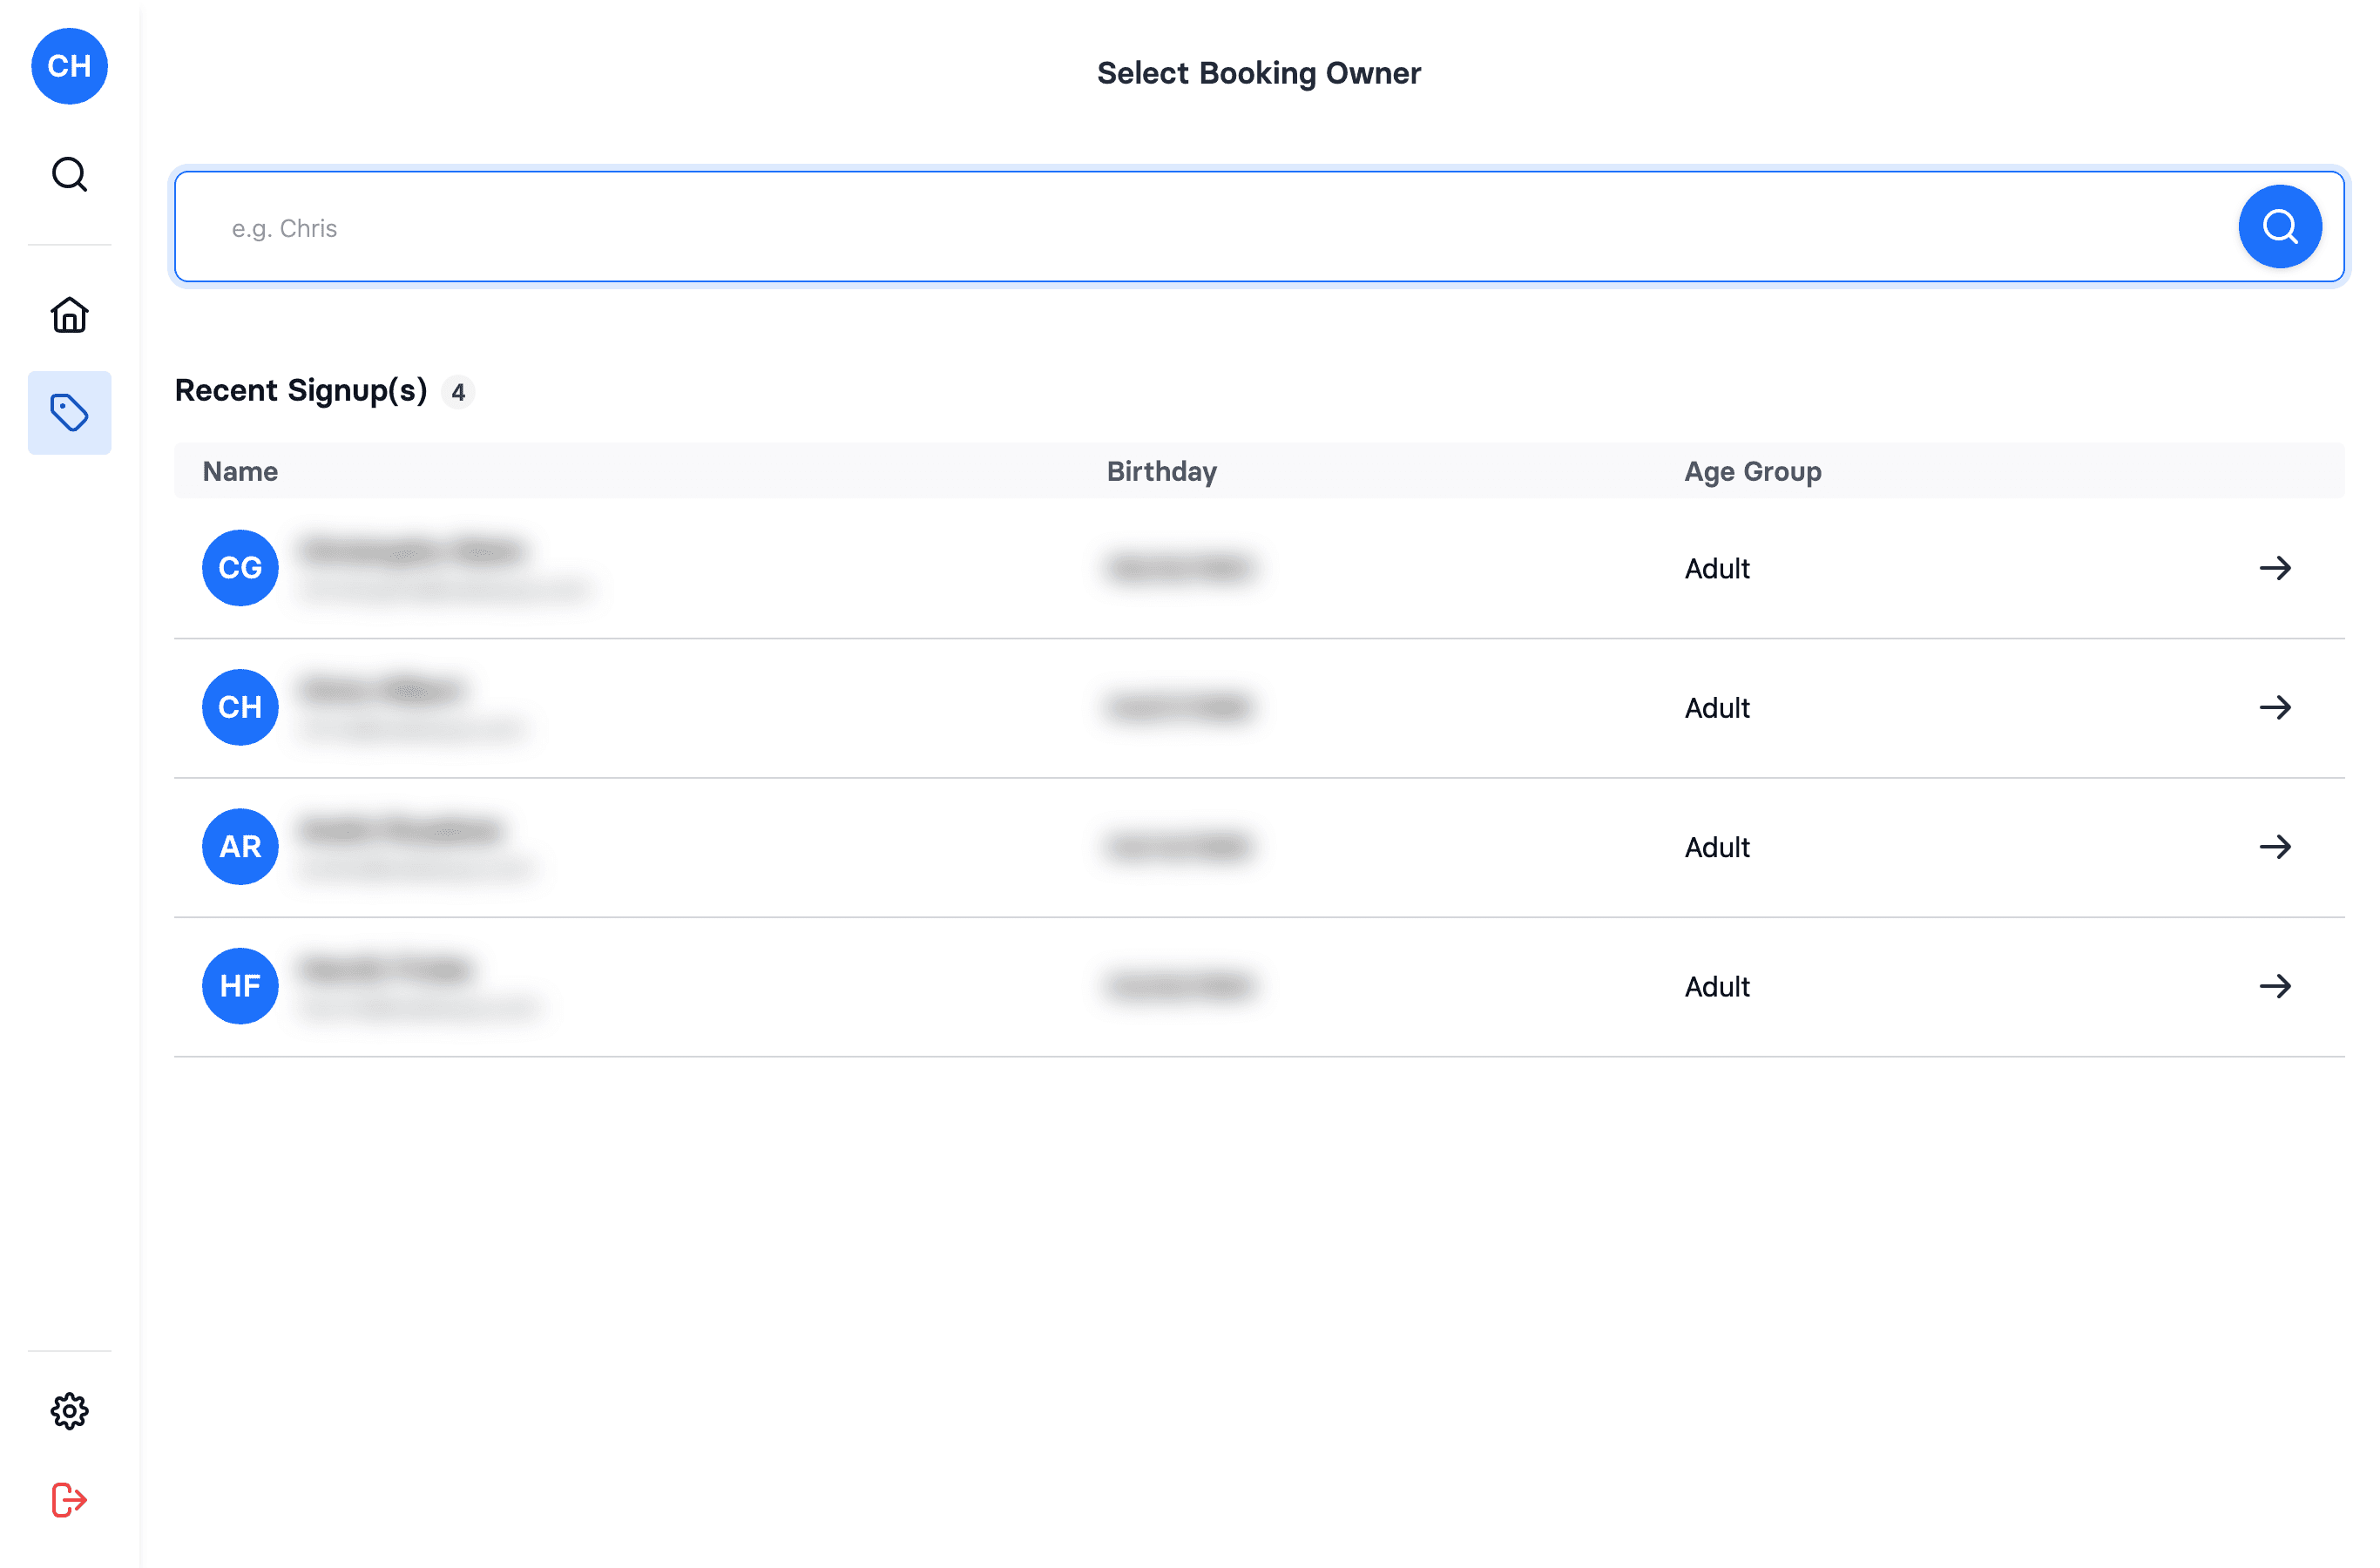
- In the POS, open Sale.
- Select the booking owner — search for yourself or a staff member (must be an adult).
- On the Tickets tab, pick a date/offer and a time slot.
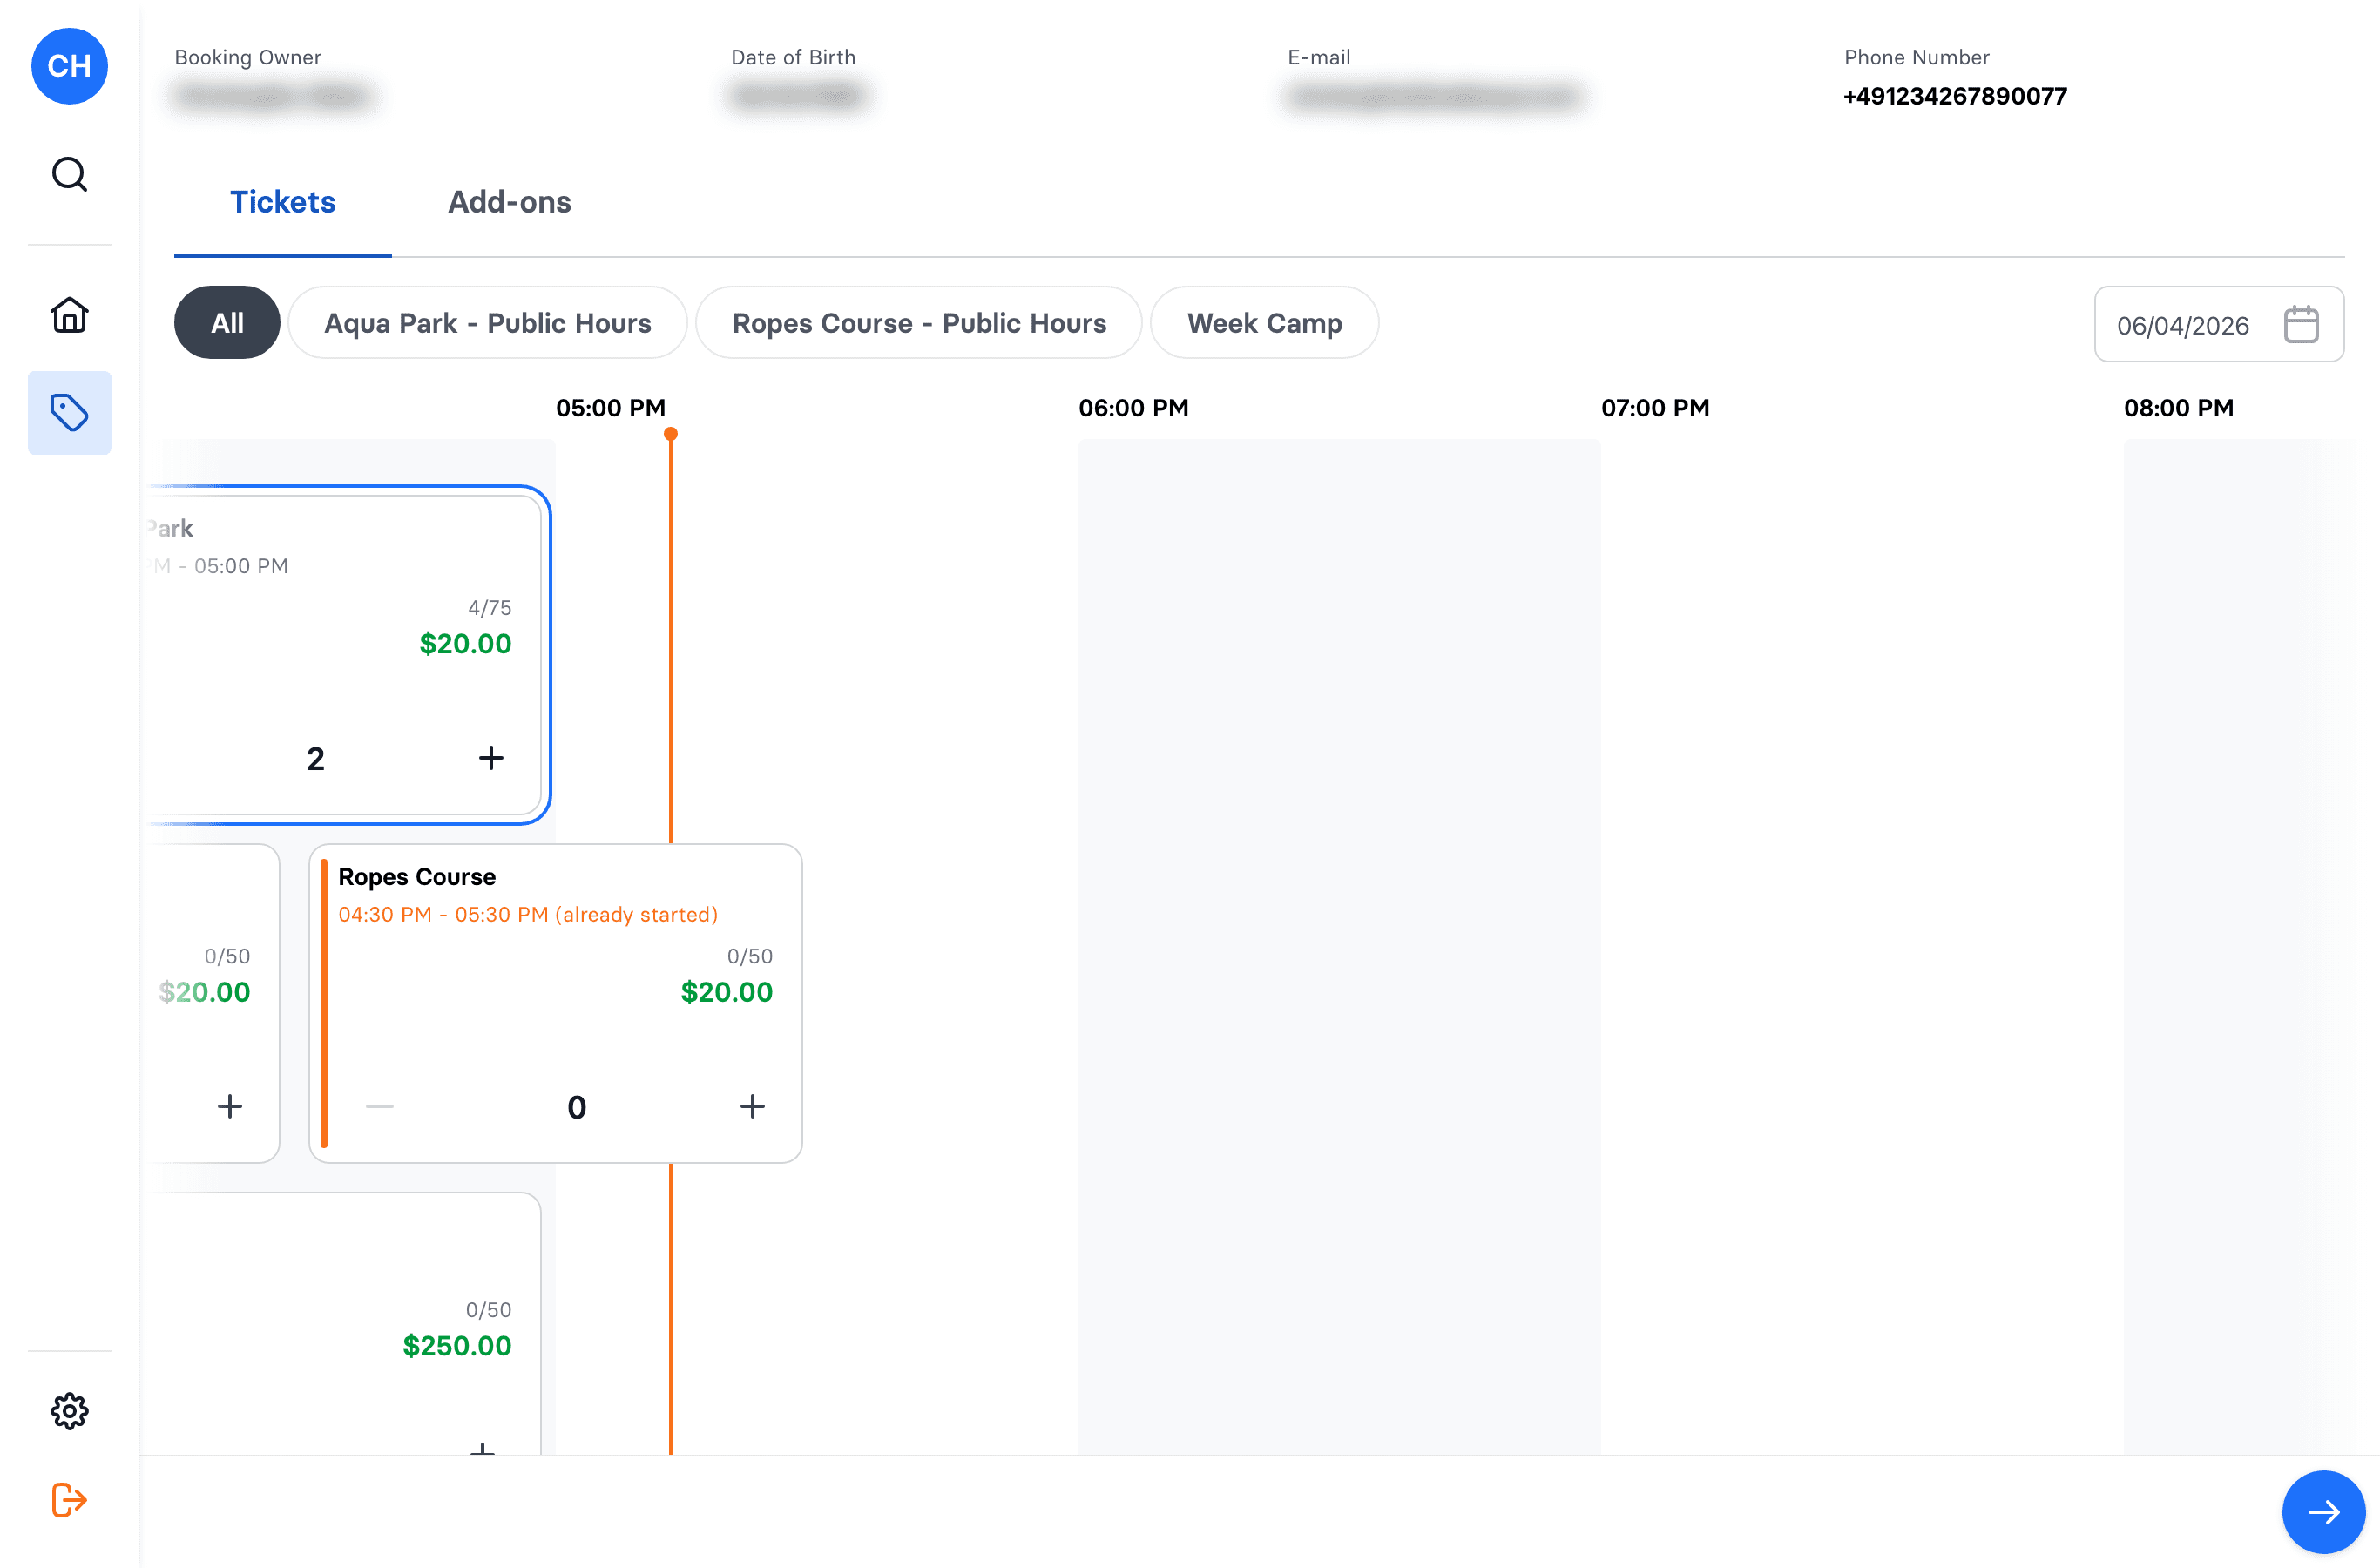
- Apply a discount percentage — set it high (for example 100%) so your test costs little or nothing, while still exercising the full payment flow.
- Continue to checkout and choose Terminal as the payment method.
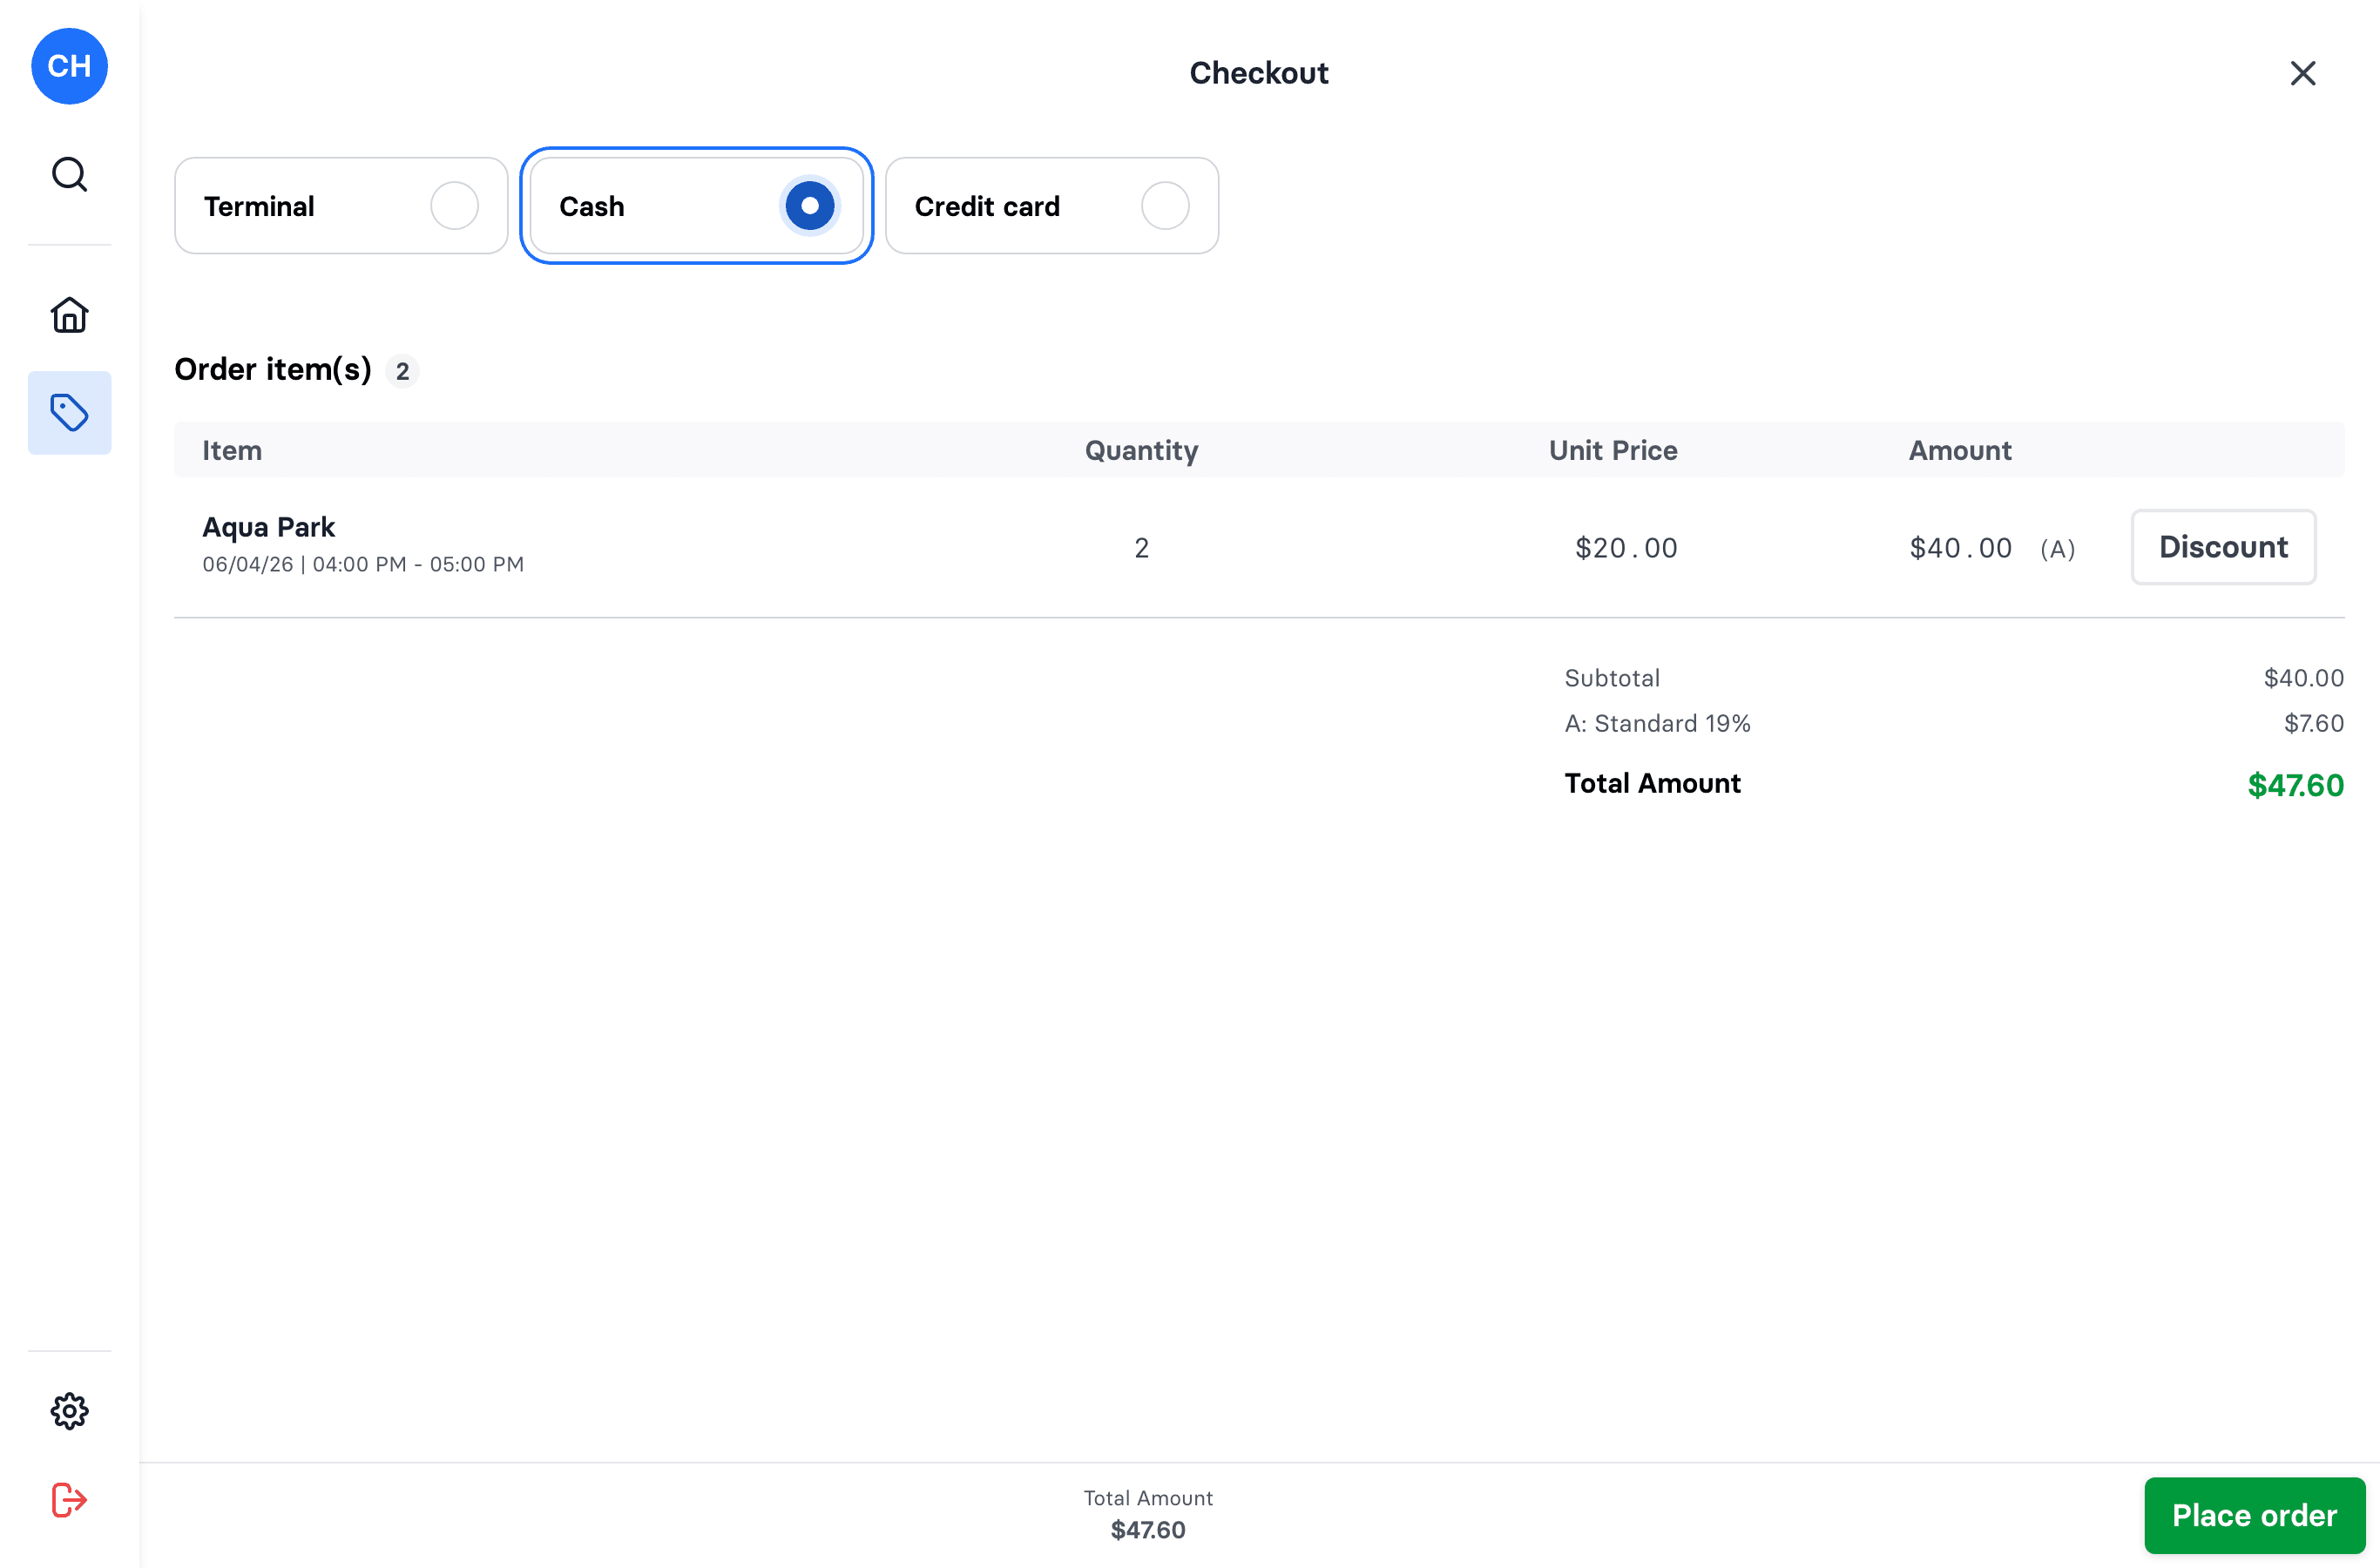
- Follow the prompt on the card reader to tap or insert a card, and place the order.
If the reader completes the payment and a receipt is created, your Stripe Terminal is working. If Terminal doesn't appear or the reader won't connect, see Stripe card reader troubleshooting.
To finish the booking the way you would for a real guest, assign the ticket to a participant and have them sign the waiver — see Assign tickets to participants.
You're live — what's next
That's the setup done. From here, the day-to-day articles cover running your park:
- How to sell a ticket at the cash register
- How customers book online
- Send a waiver to the tablet
- How to check in participants
- How to find a receipt
Anything missing or unclear? Email support@wakesys.com — we're happy to help.